
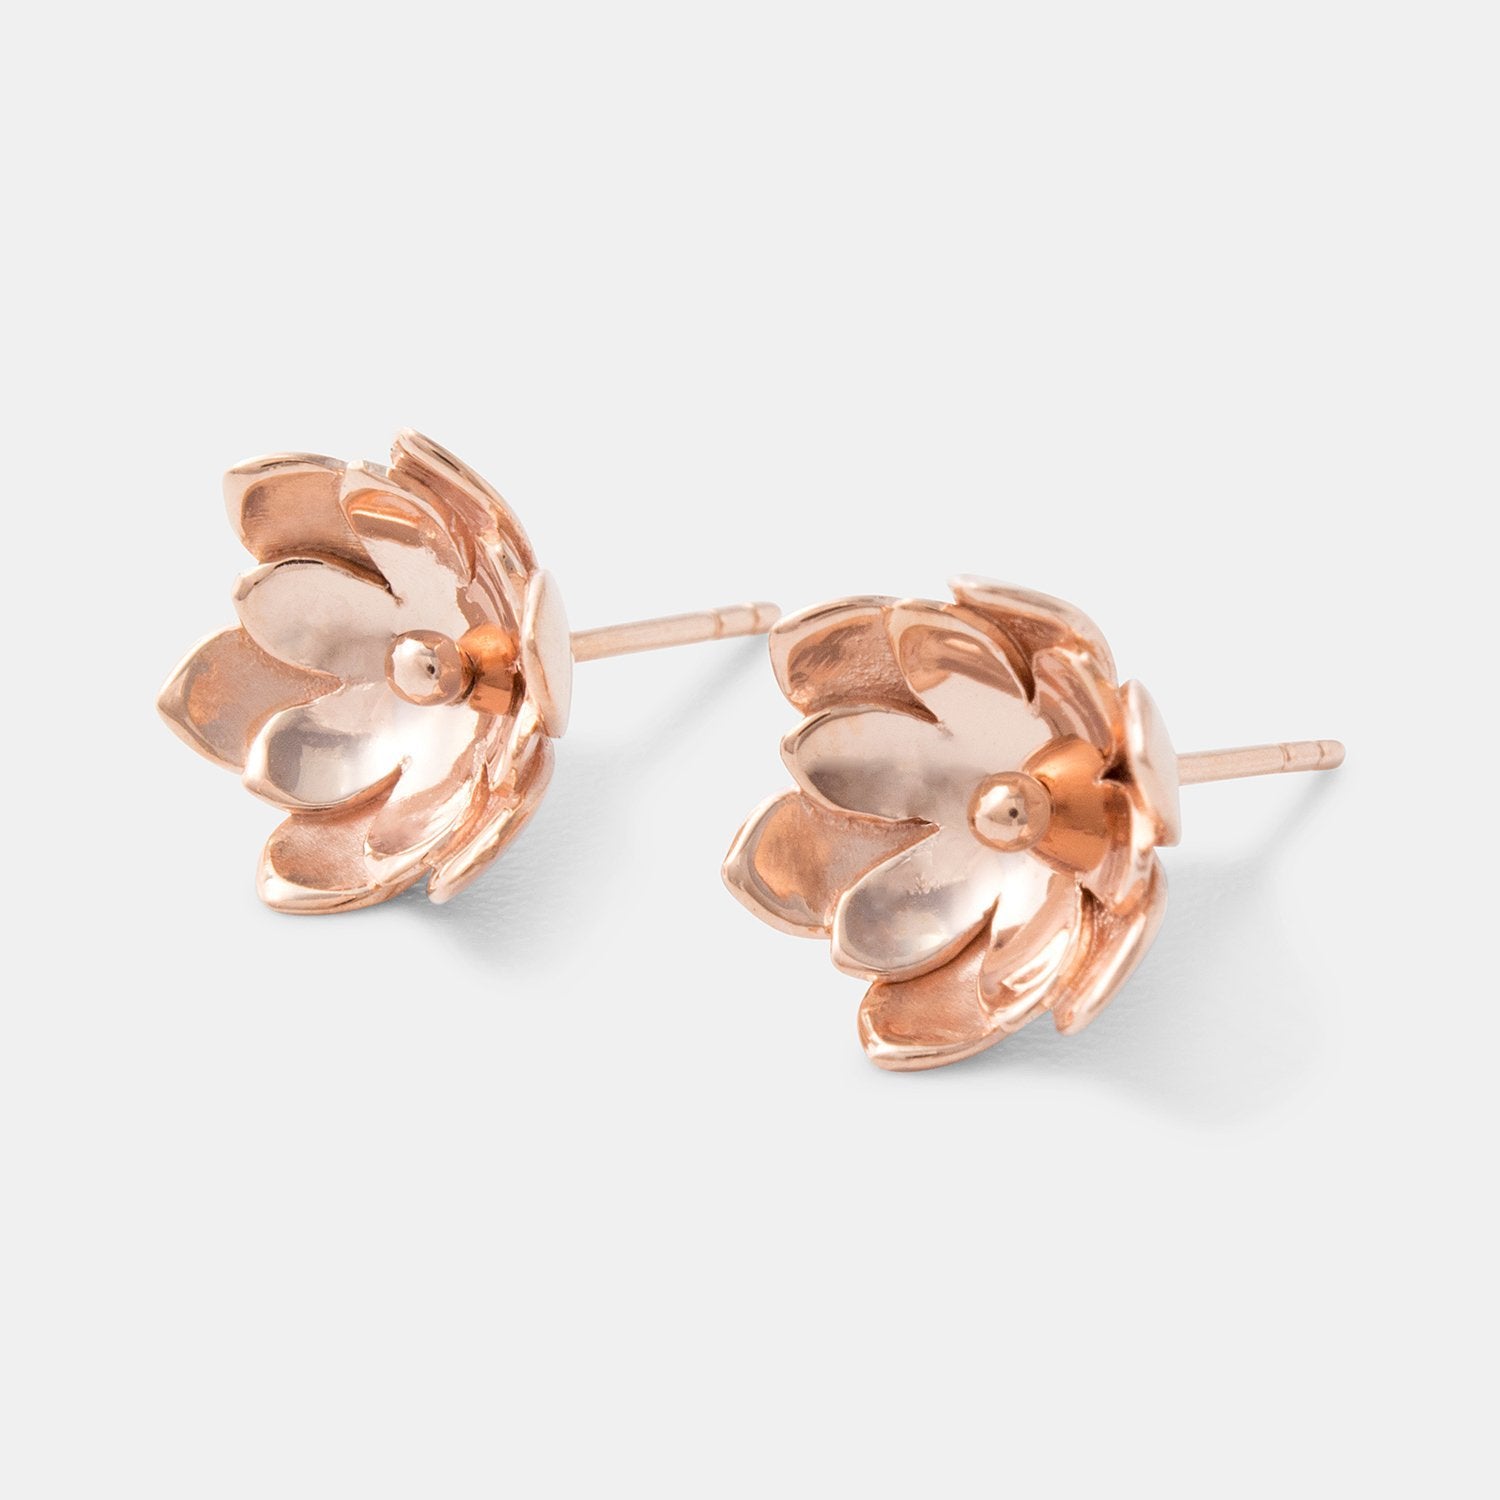
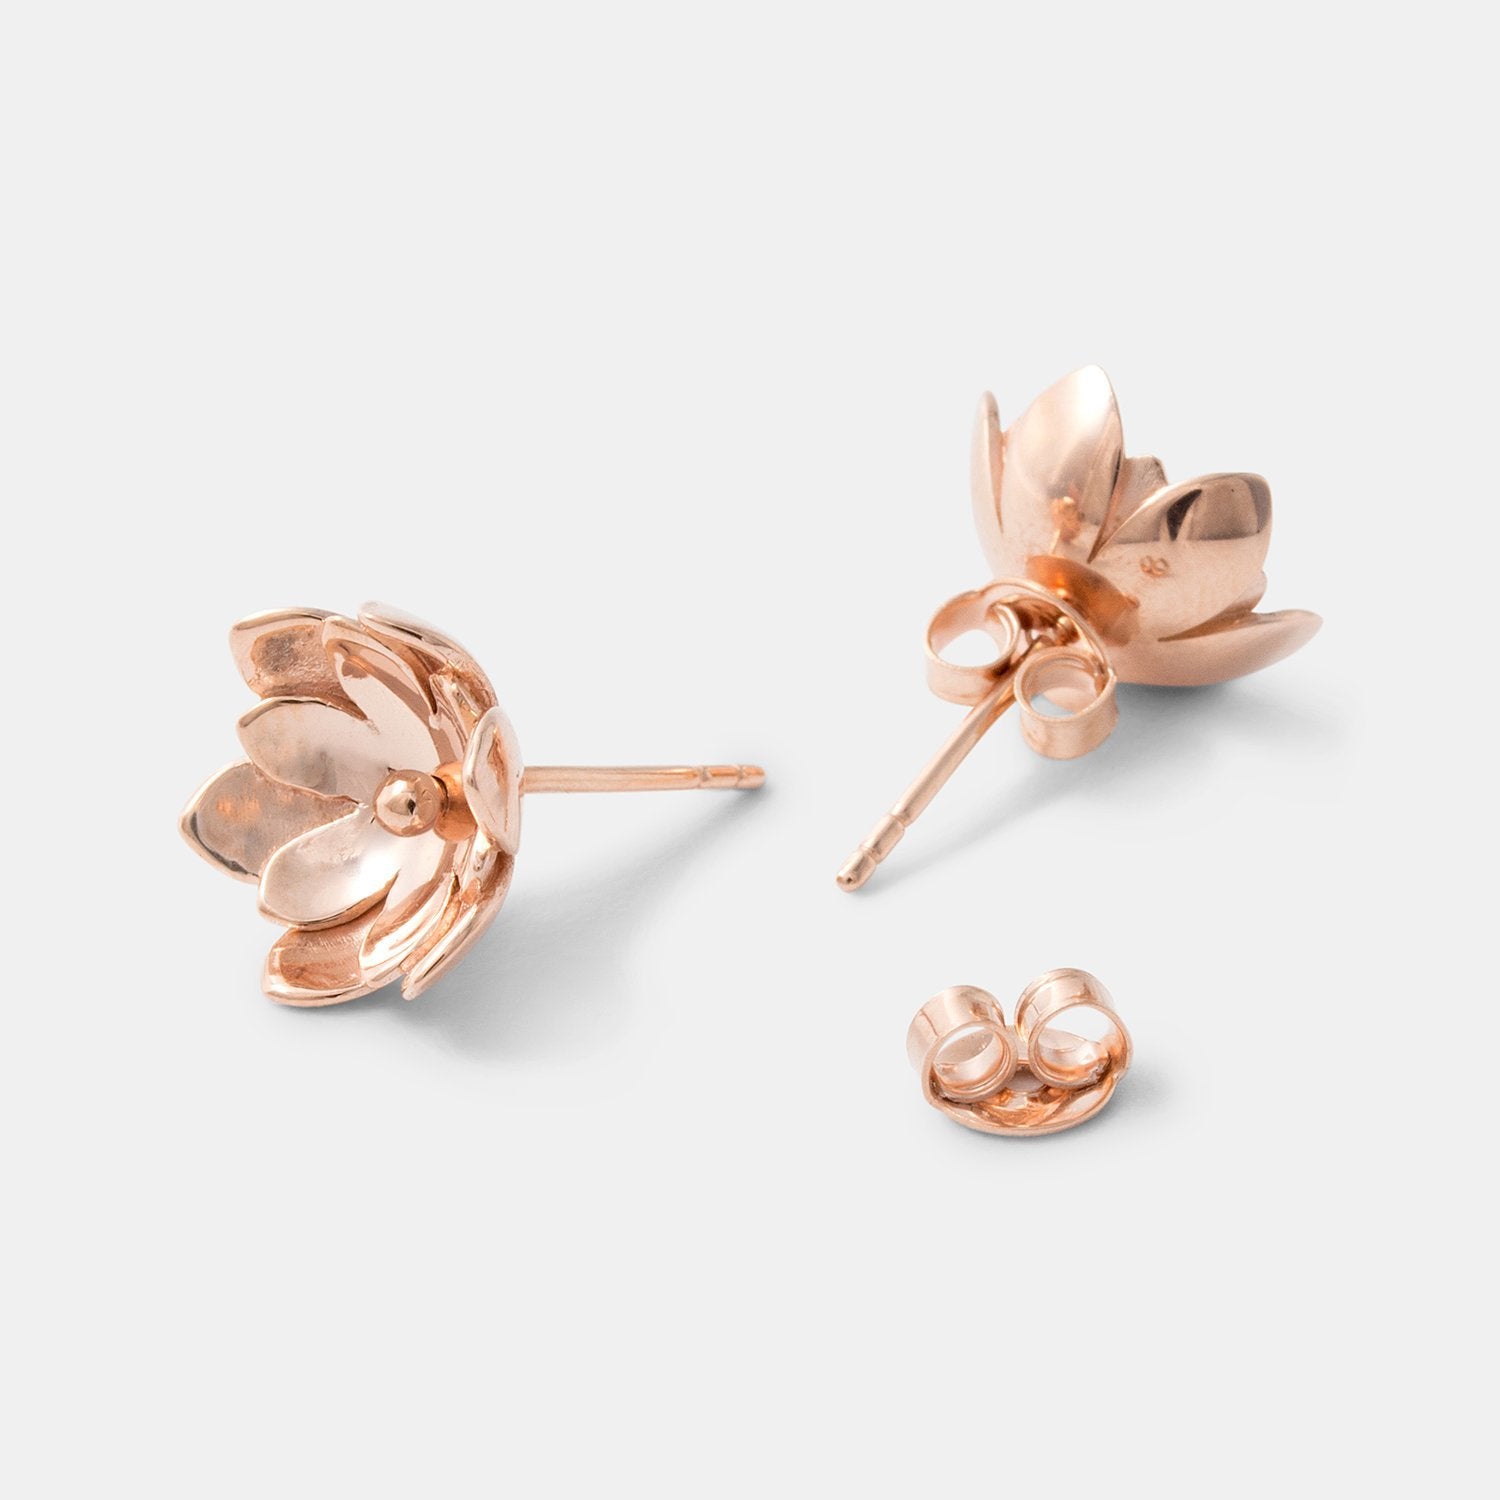
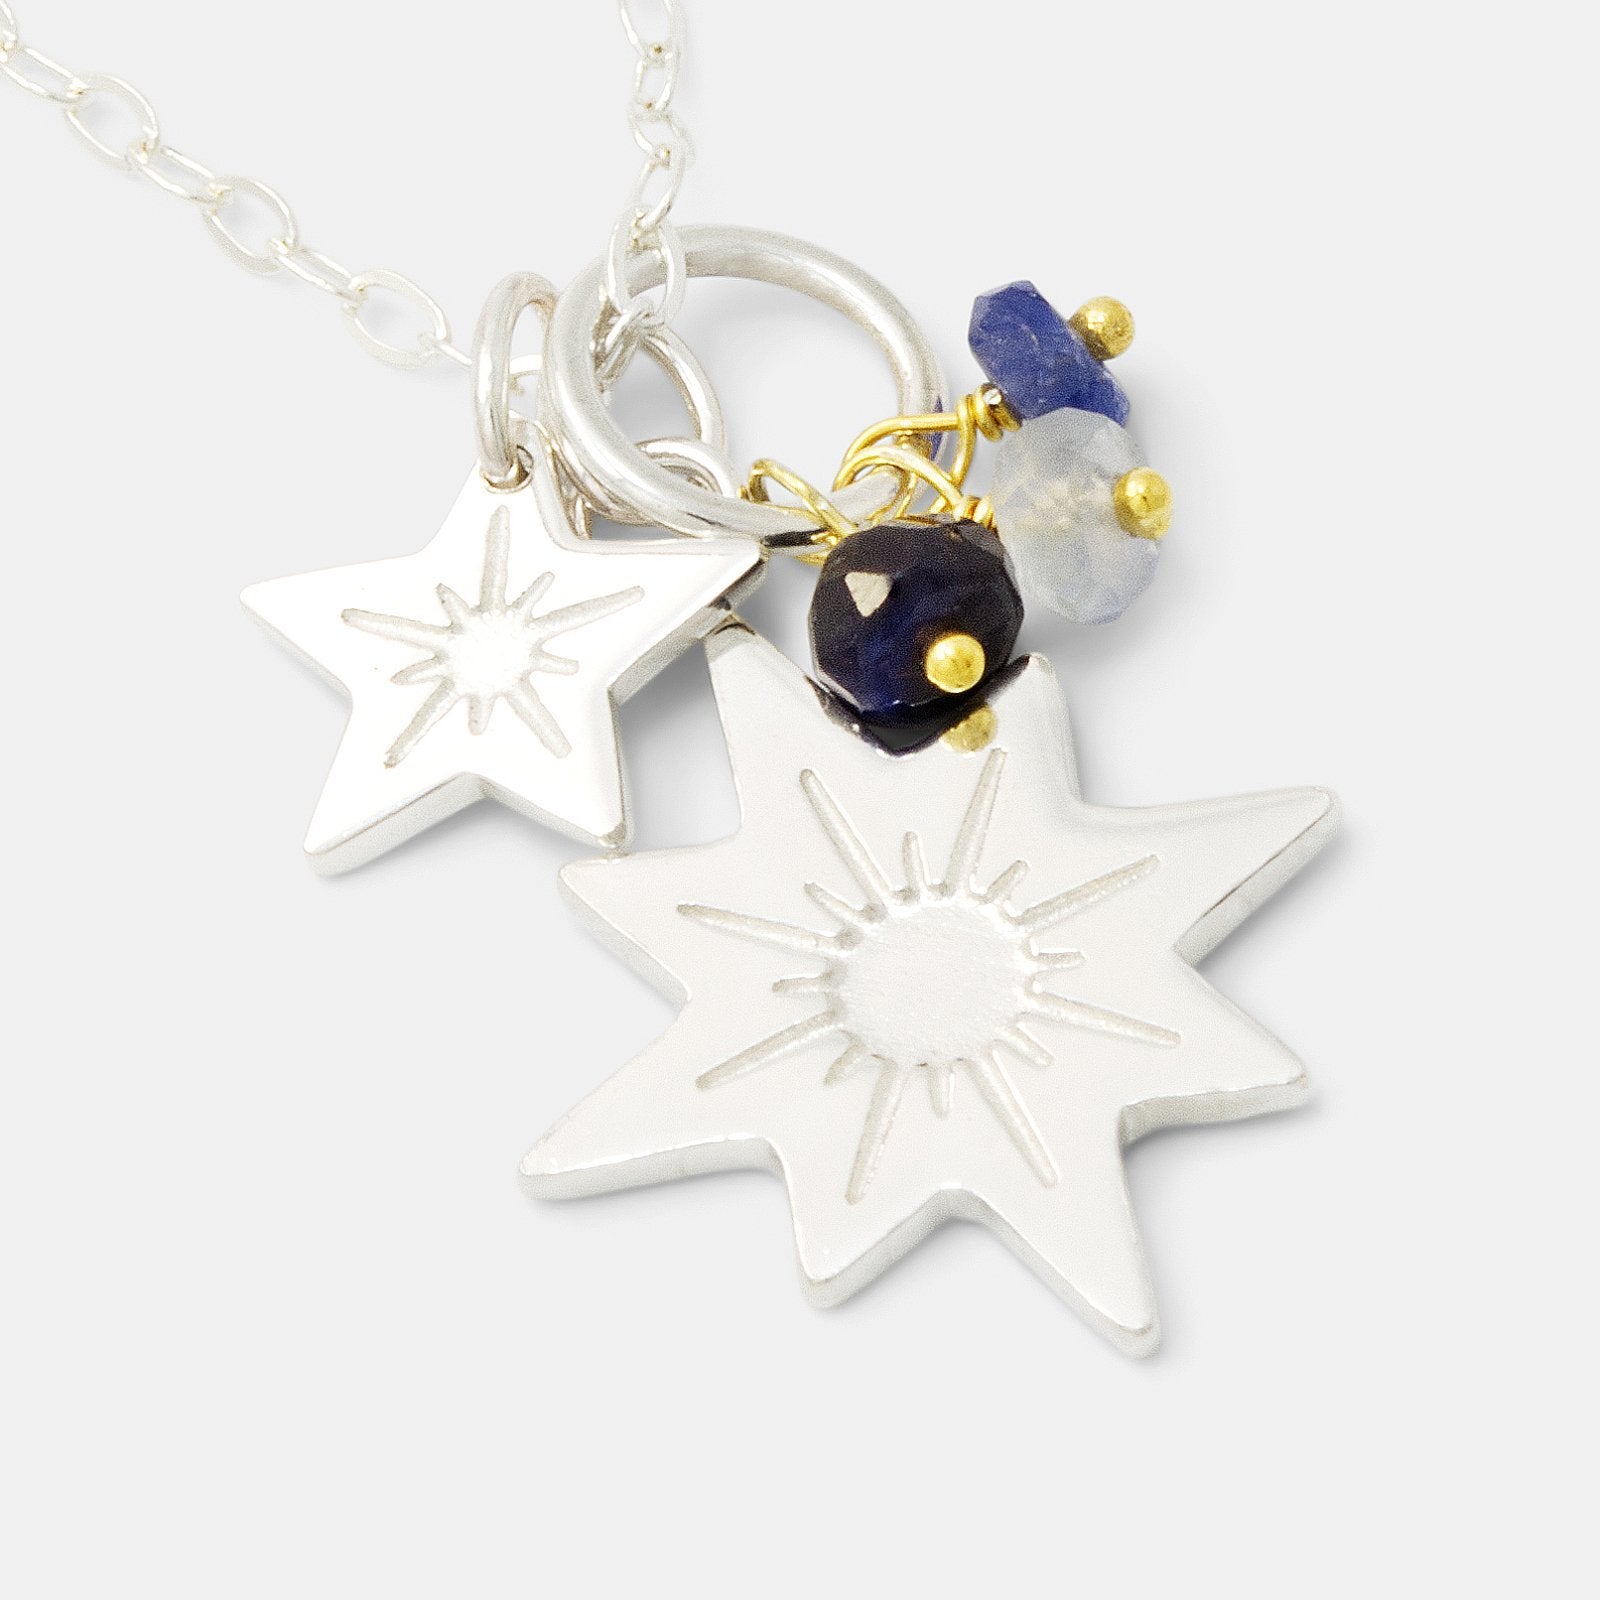
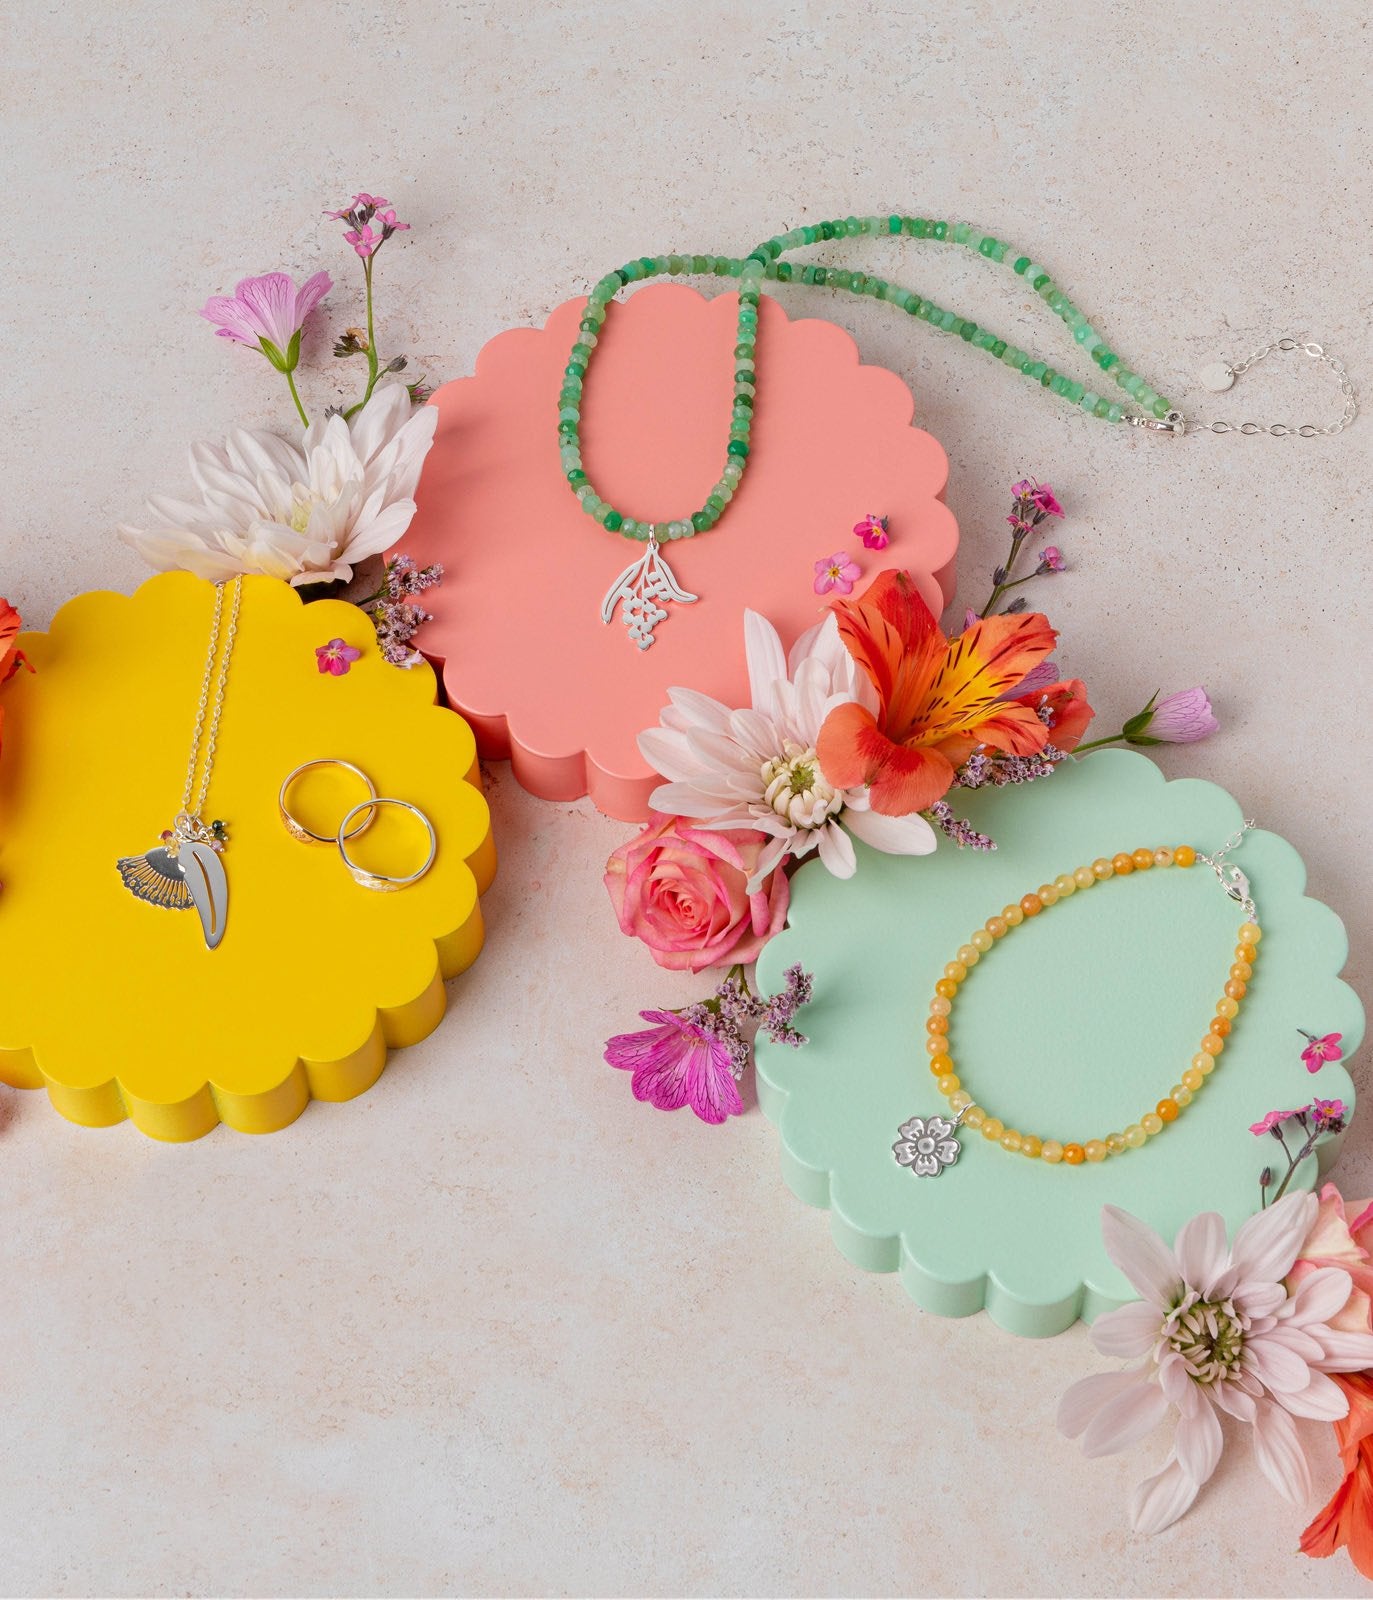
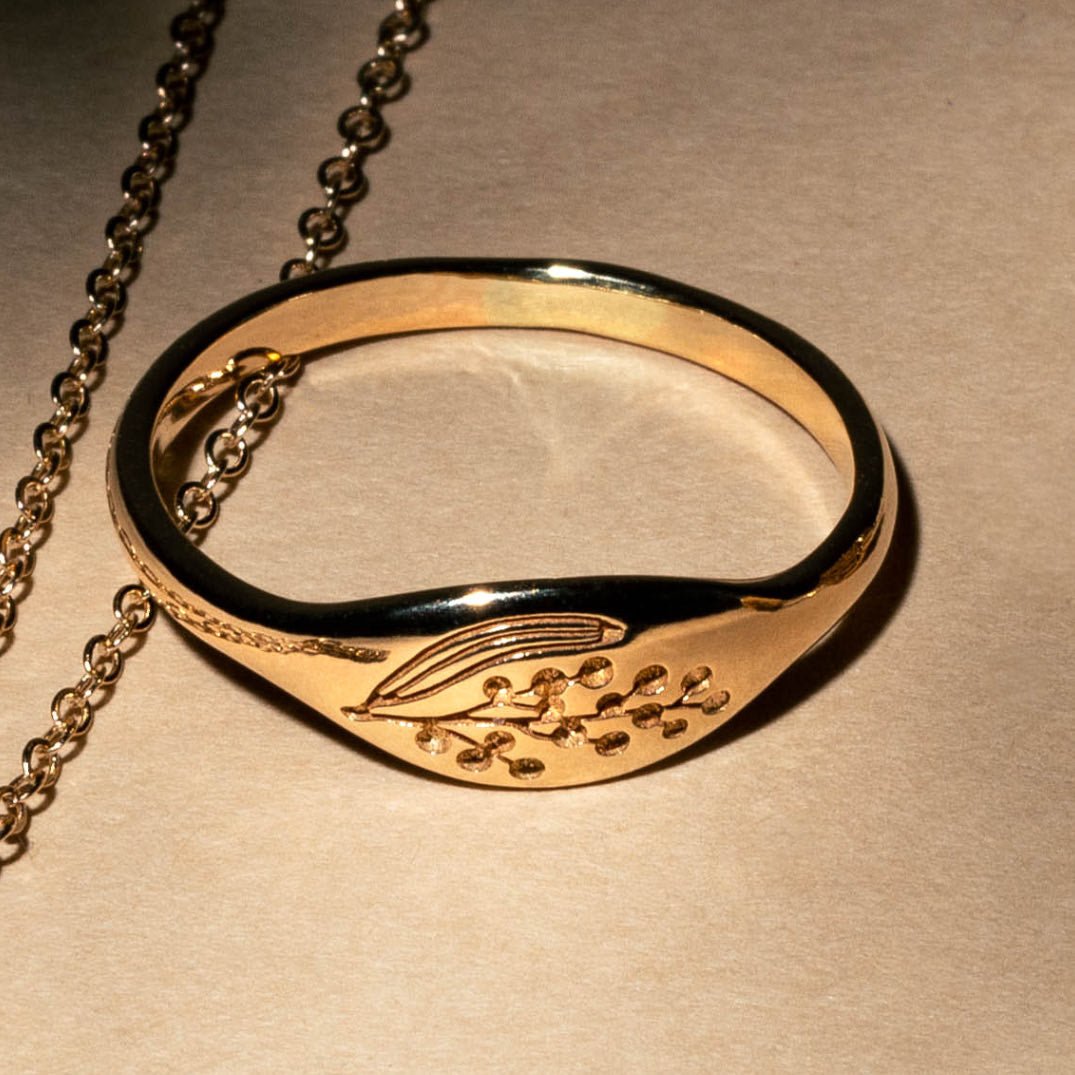
Featured jewellery
Here are some of our favourite jewellery designs. Which will you choose?
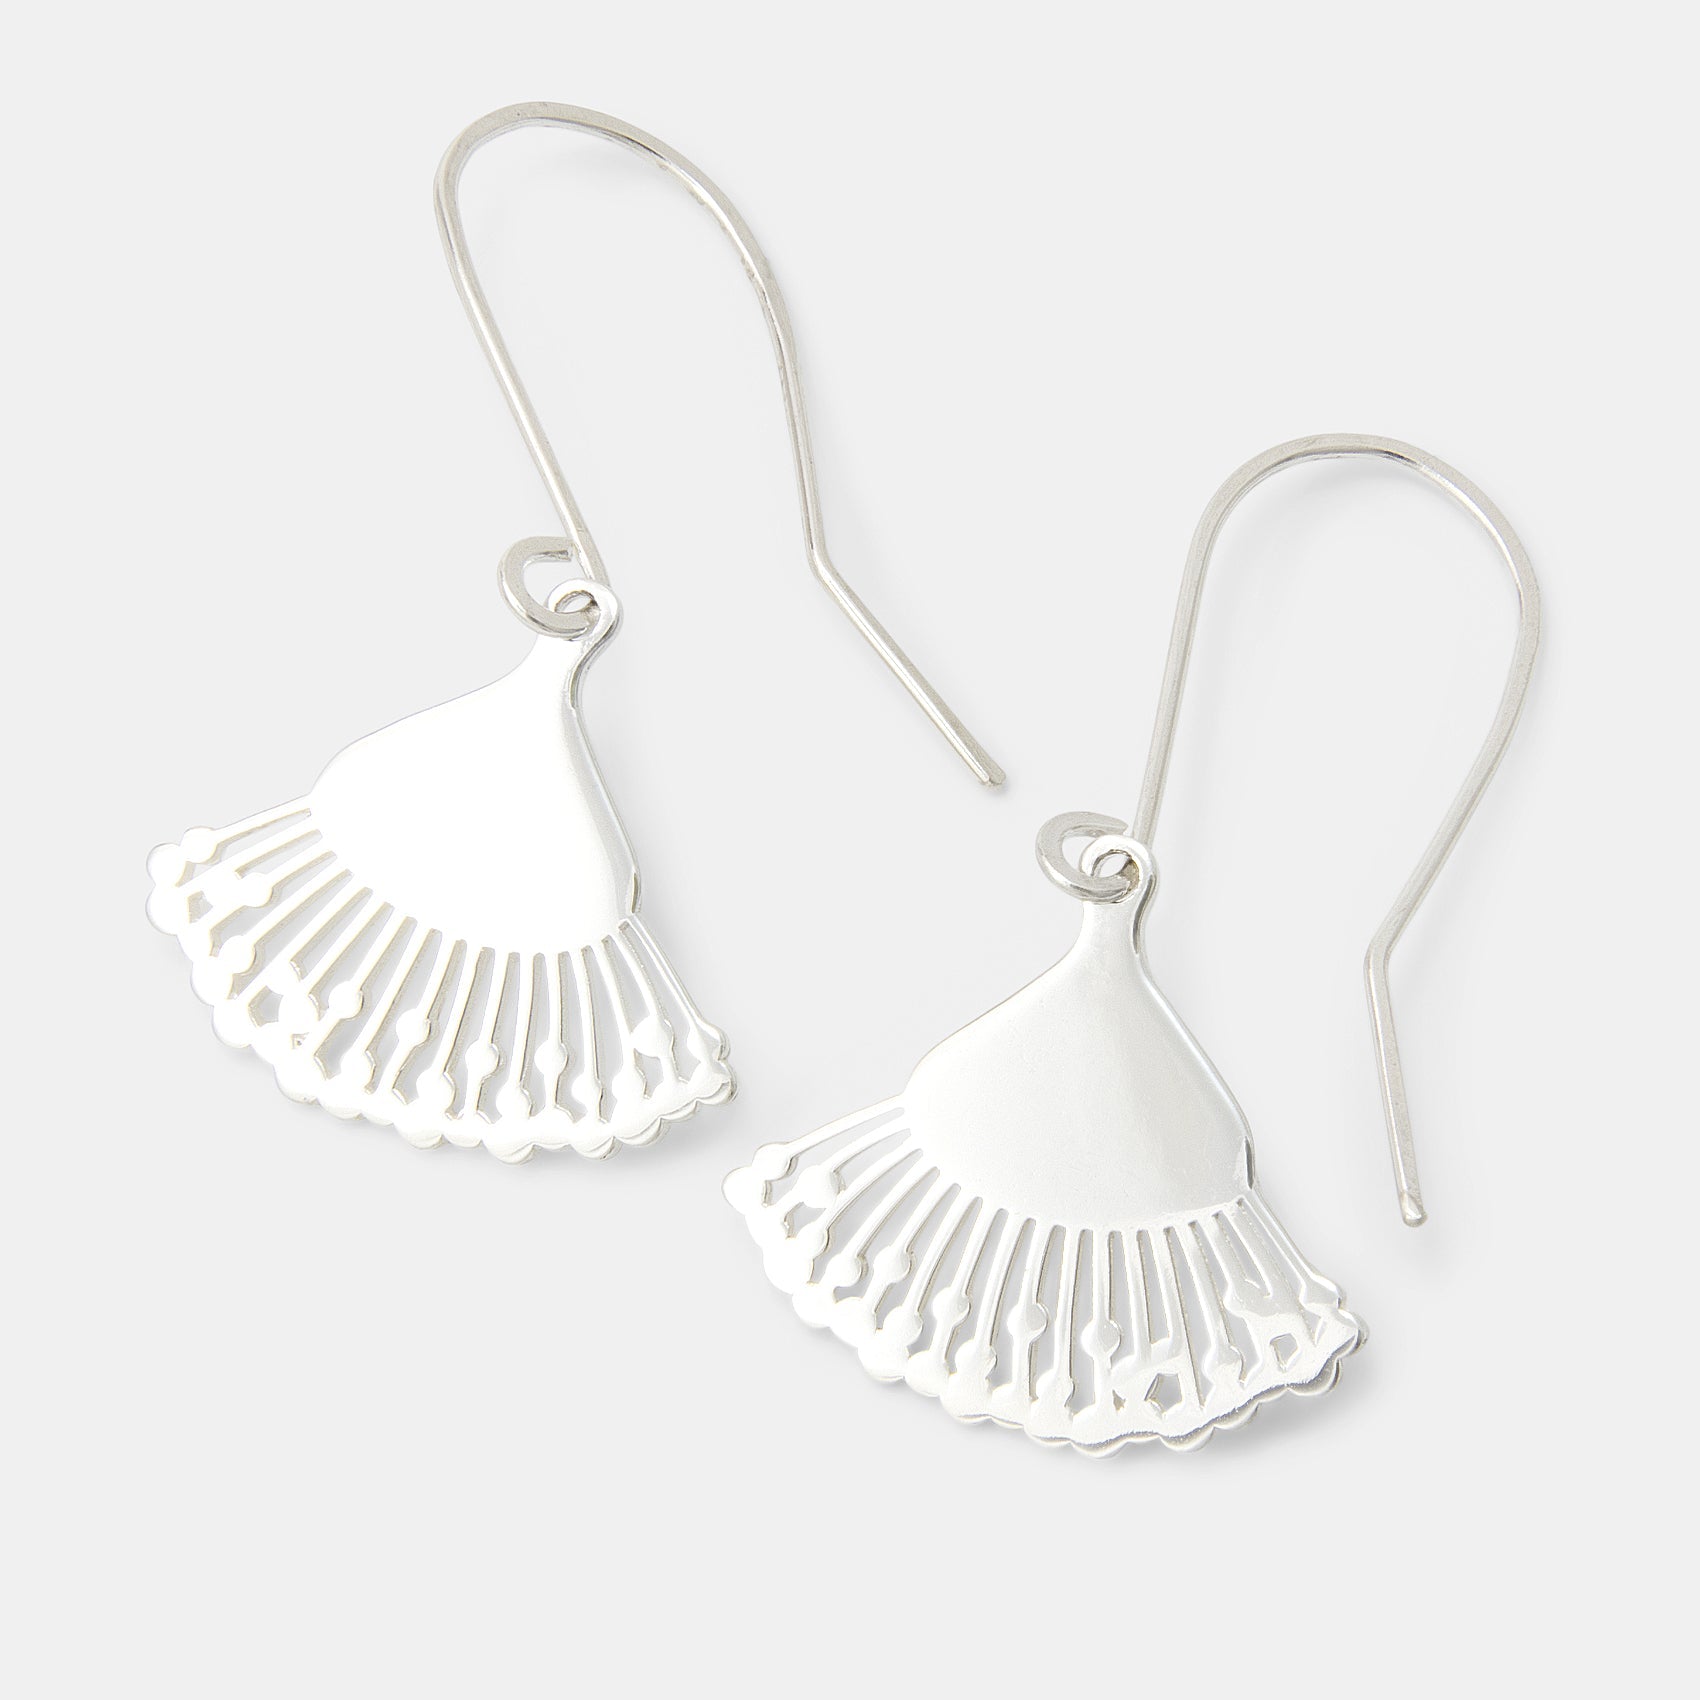
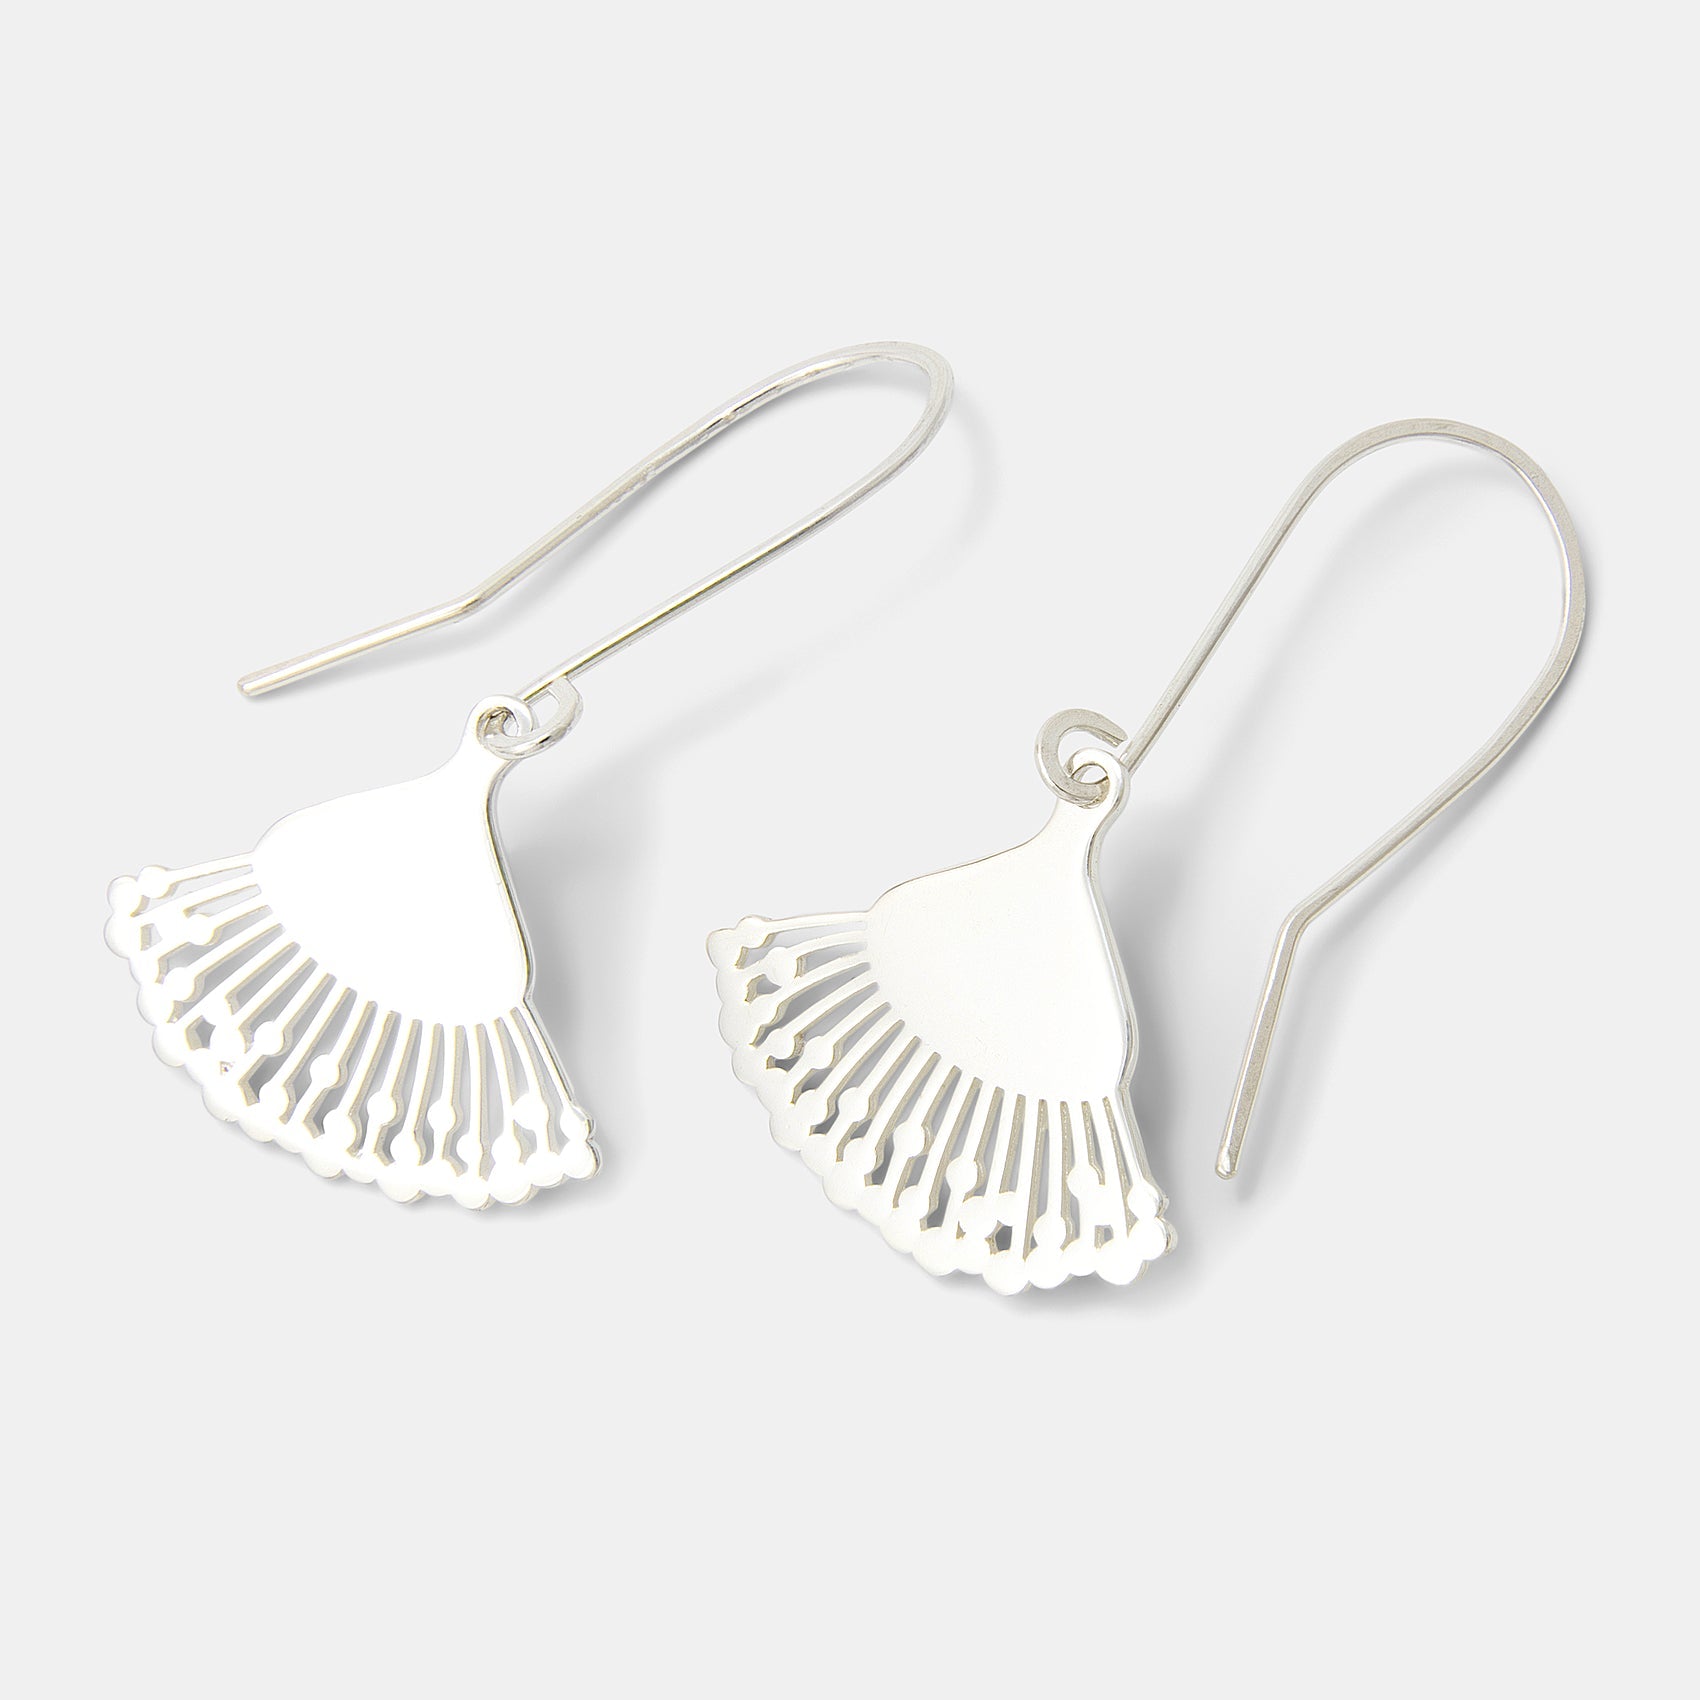
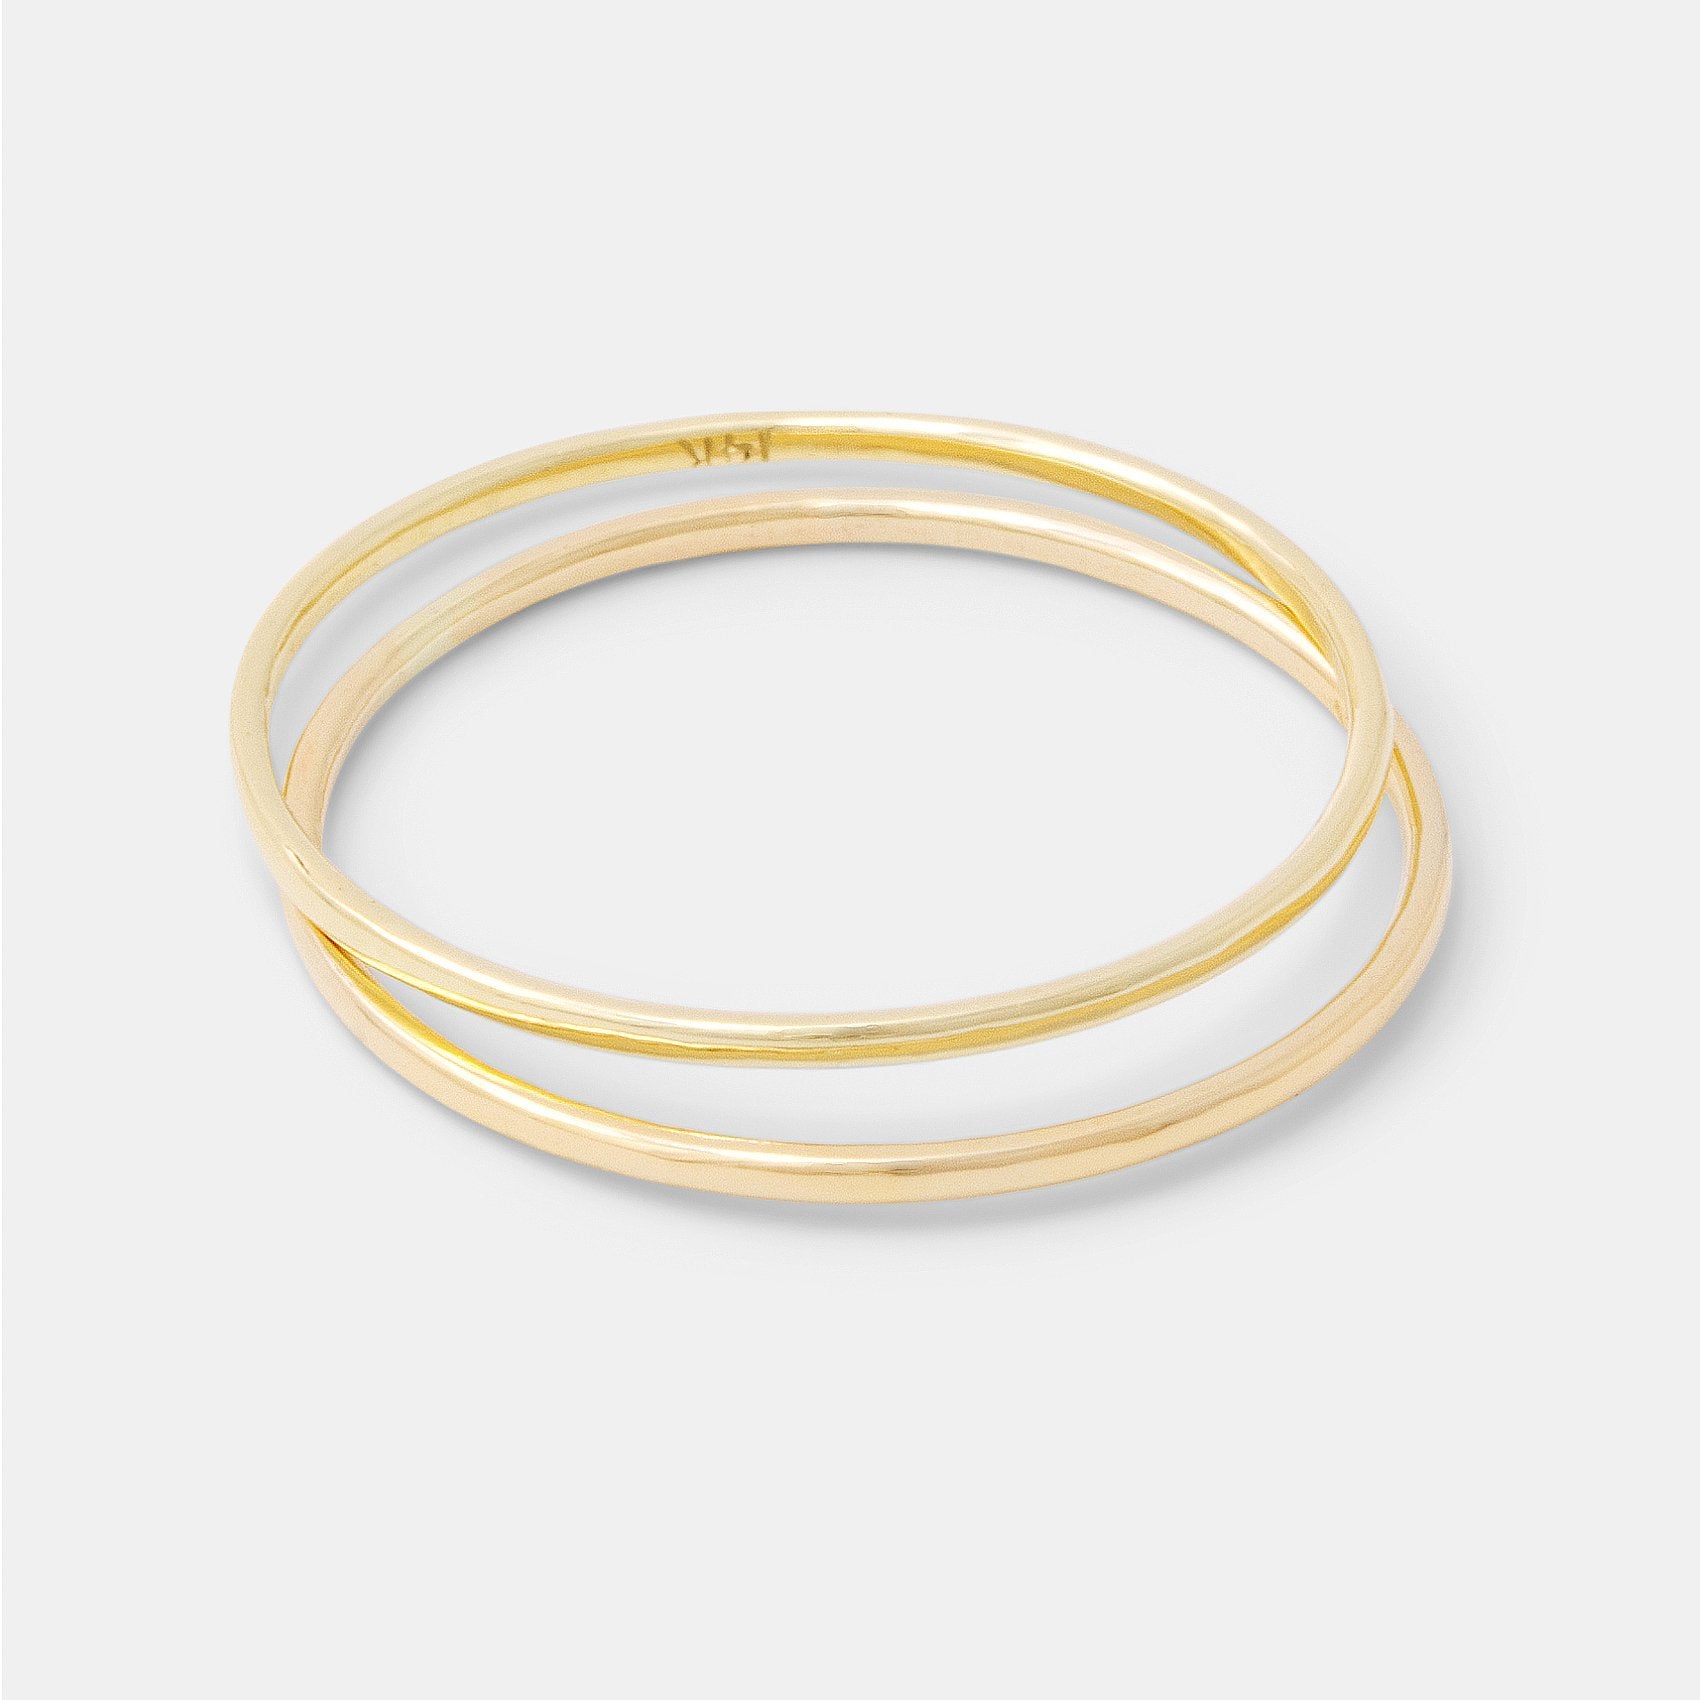
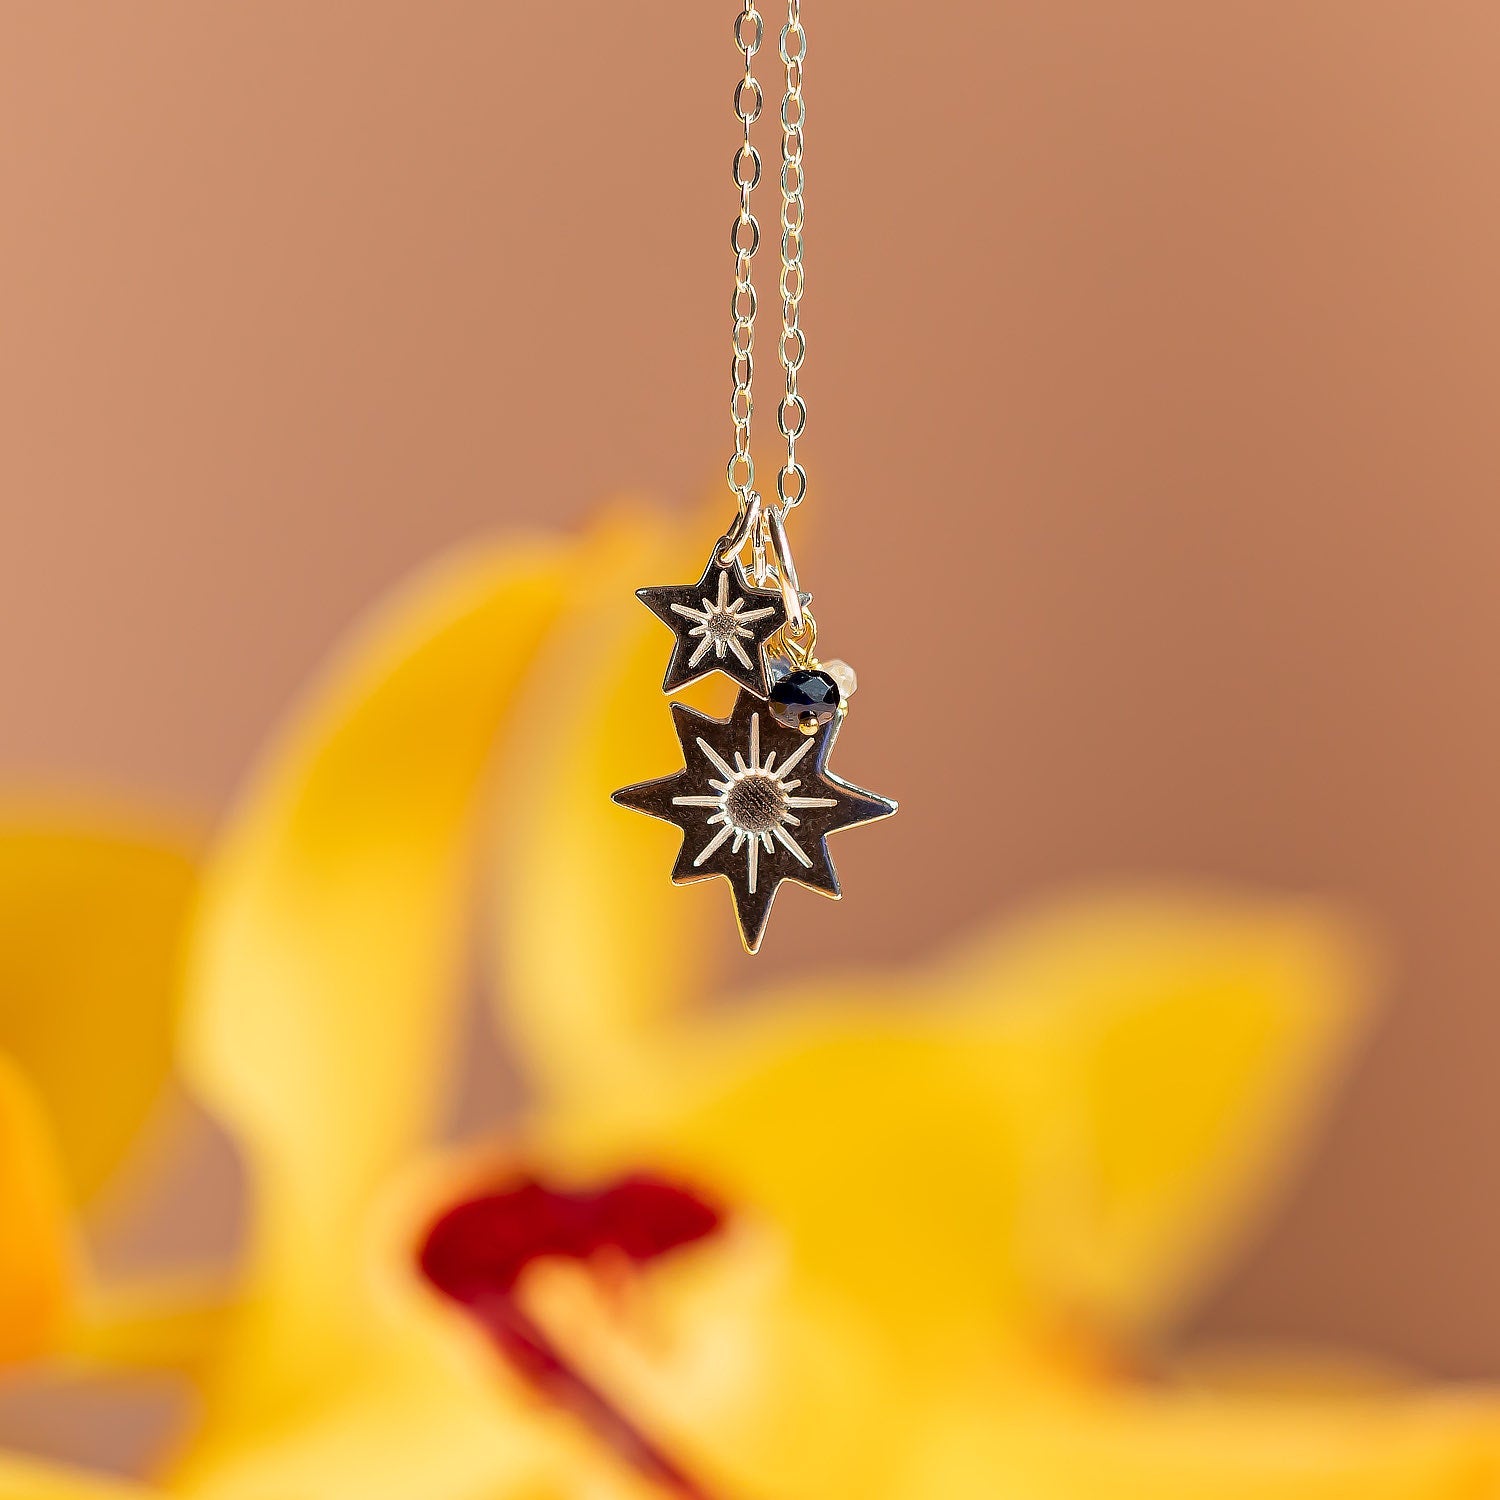
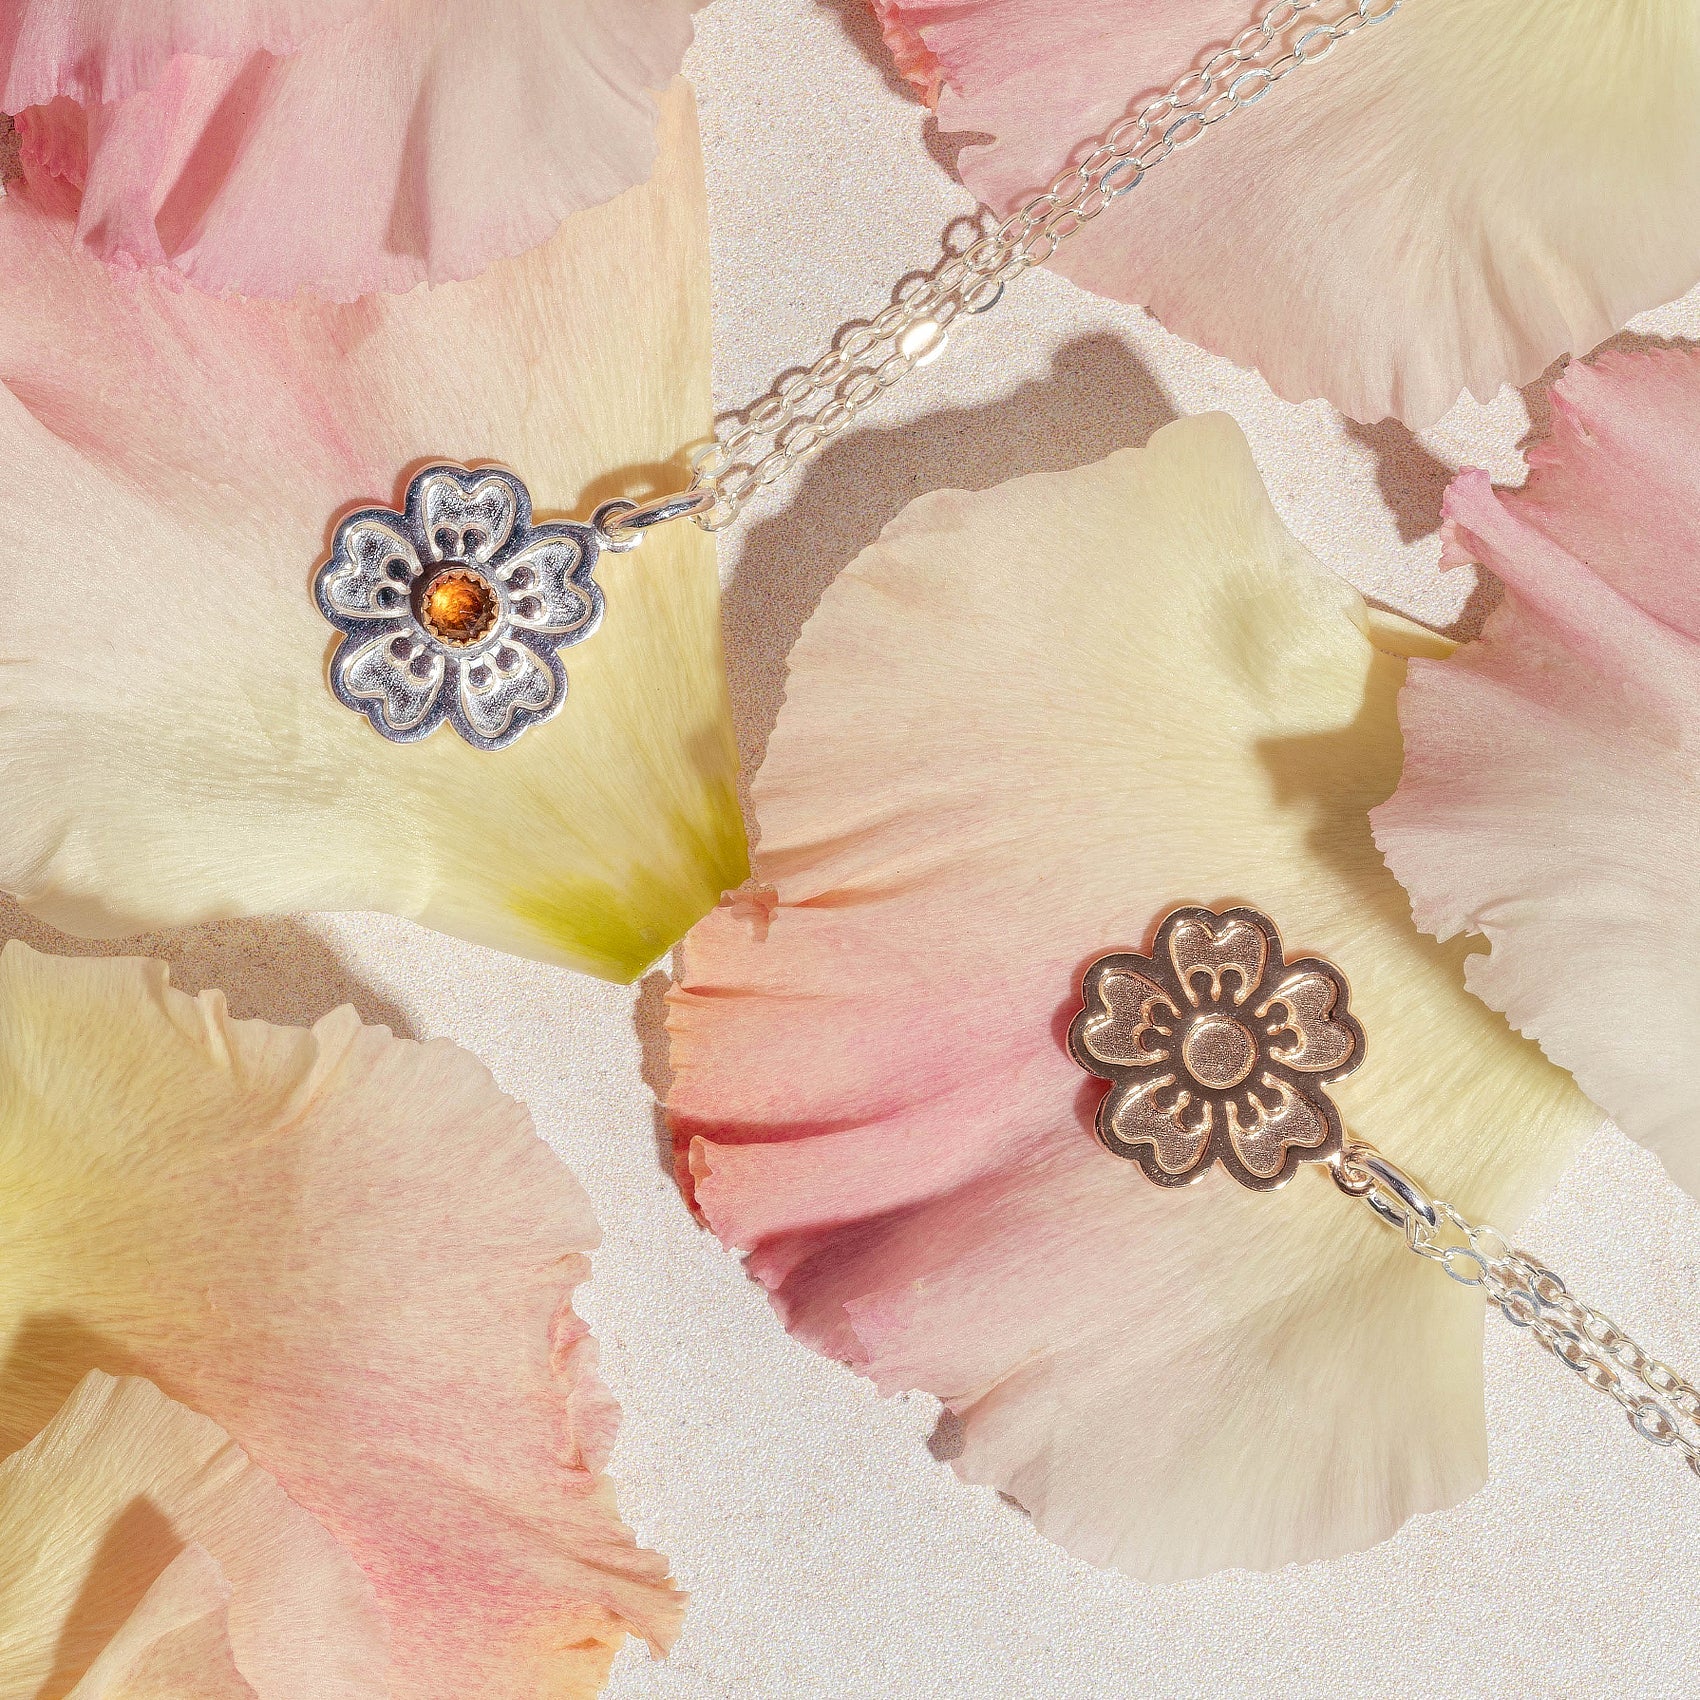
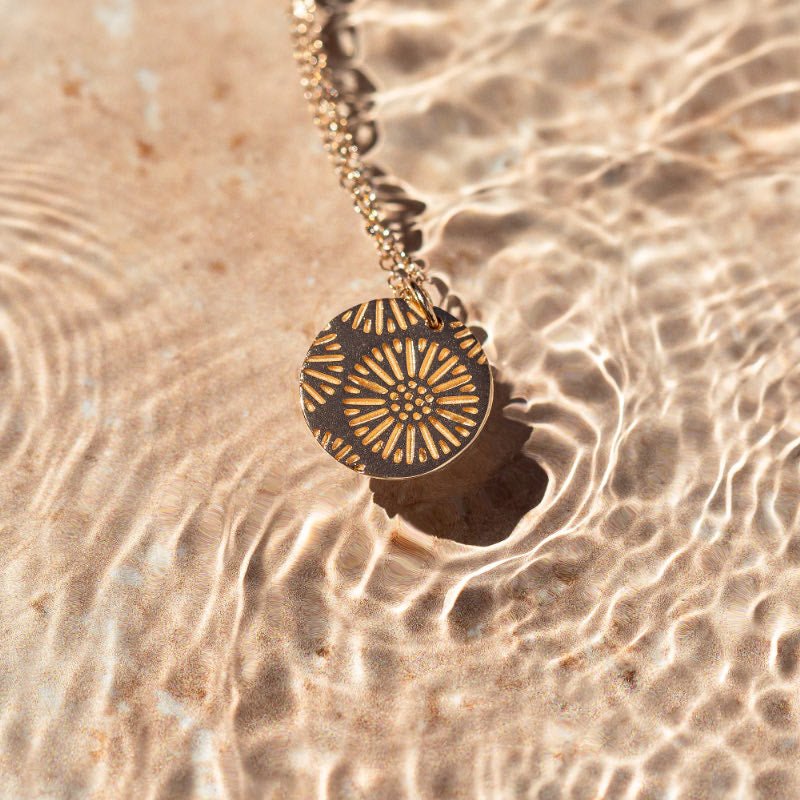
Latest Jewellery
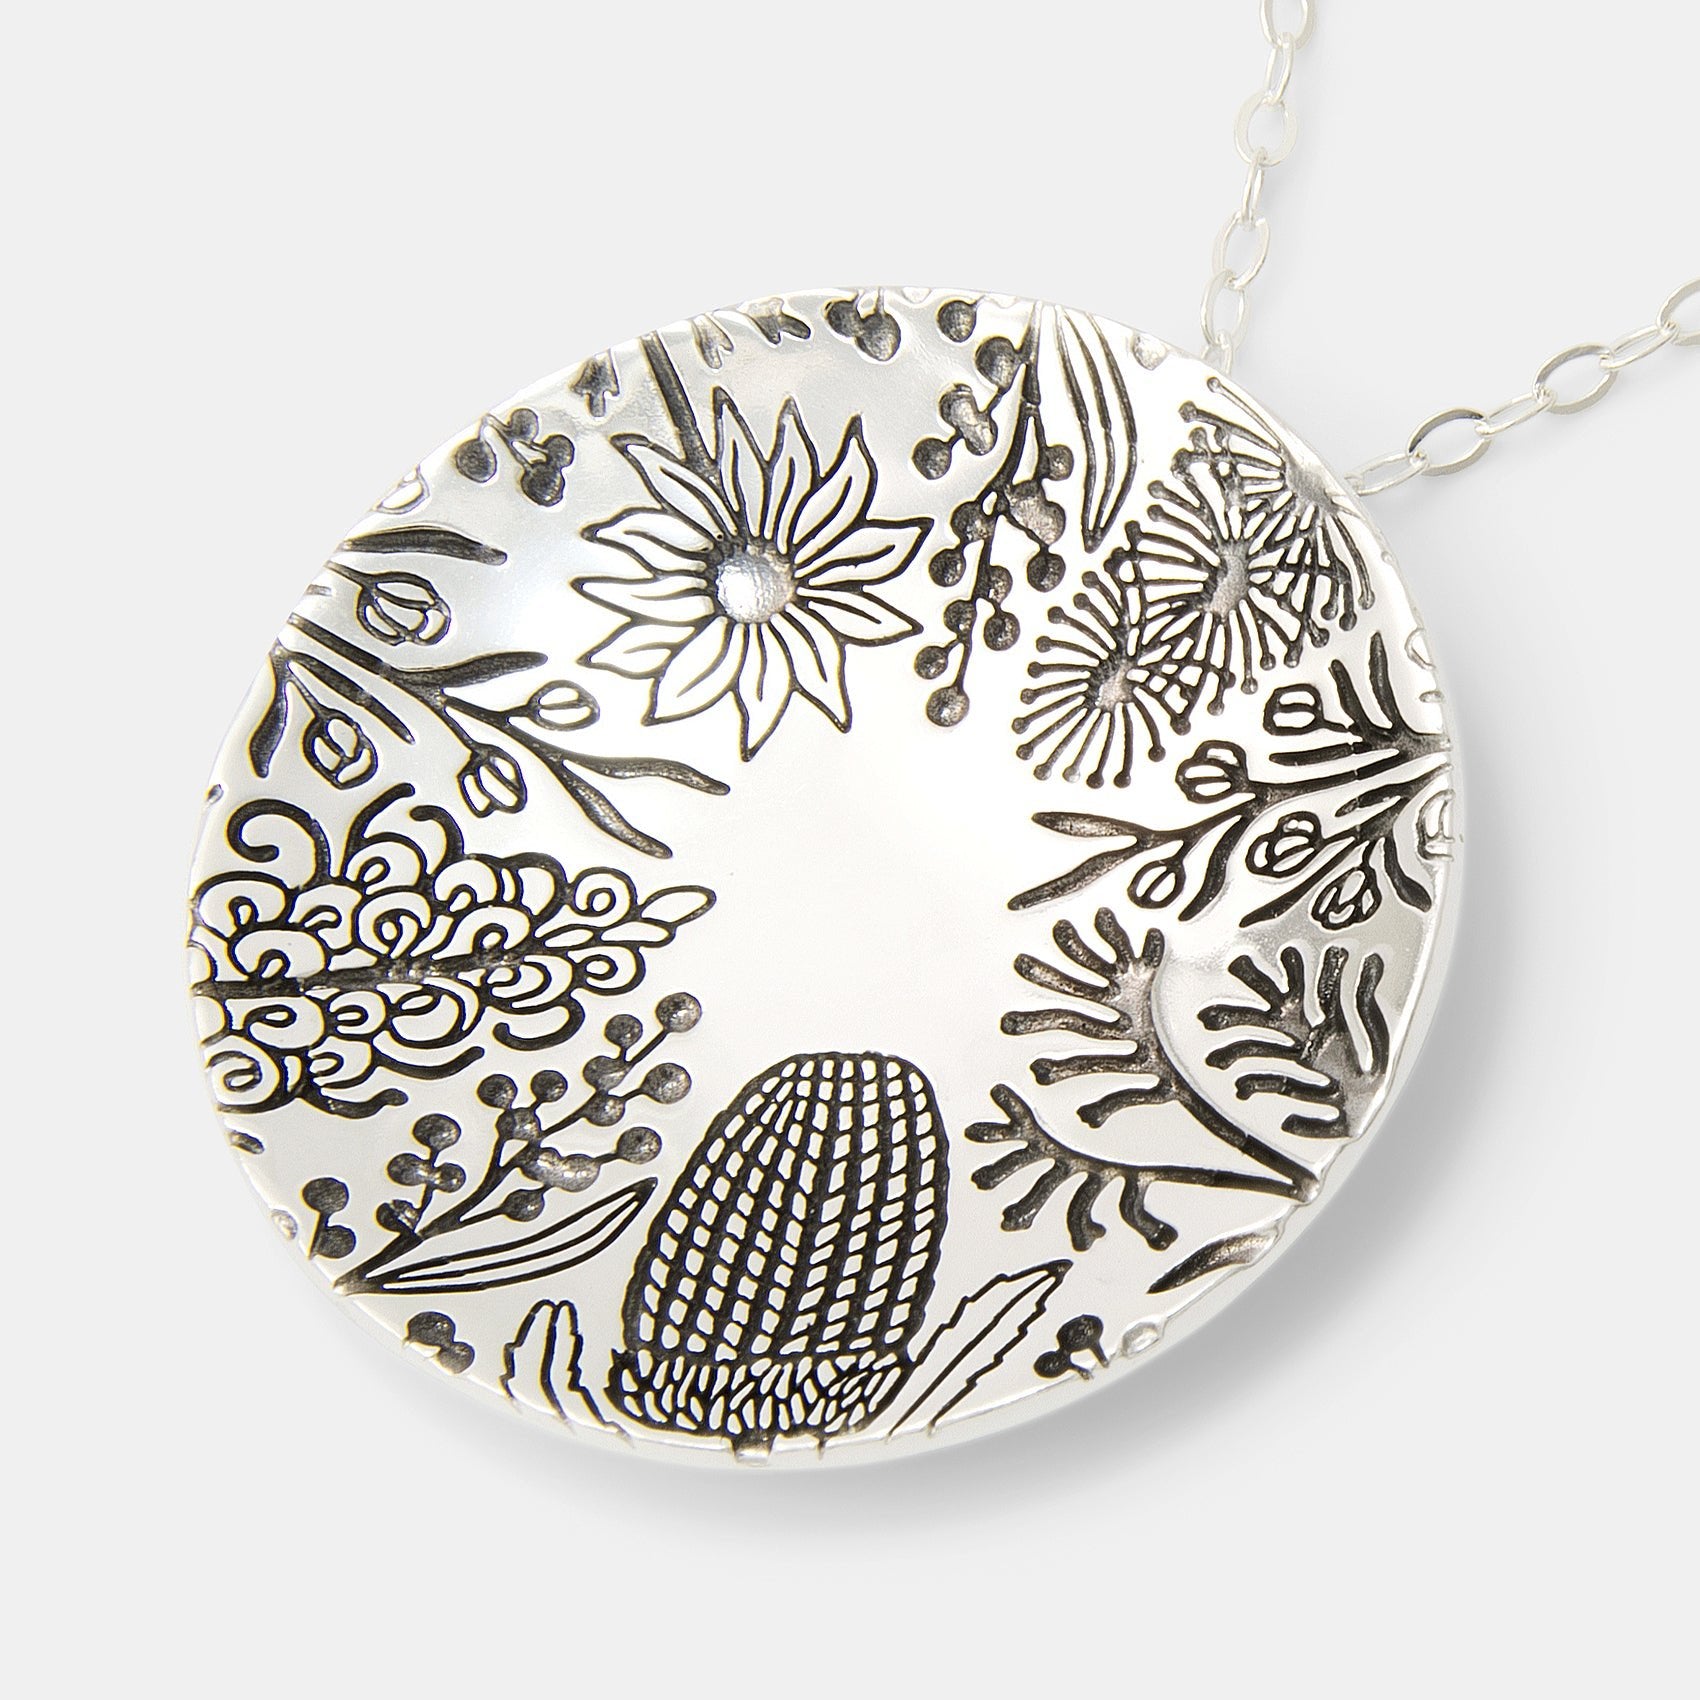
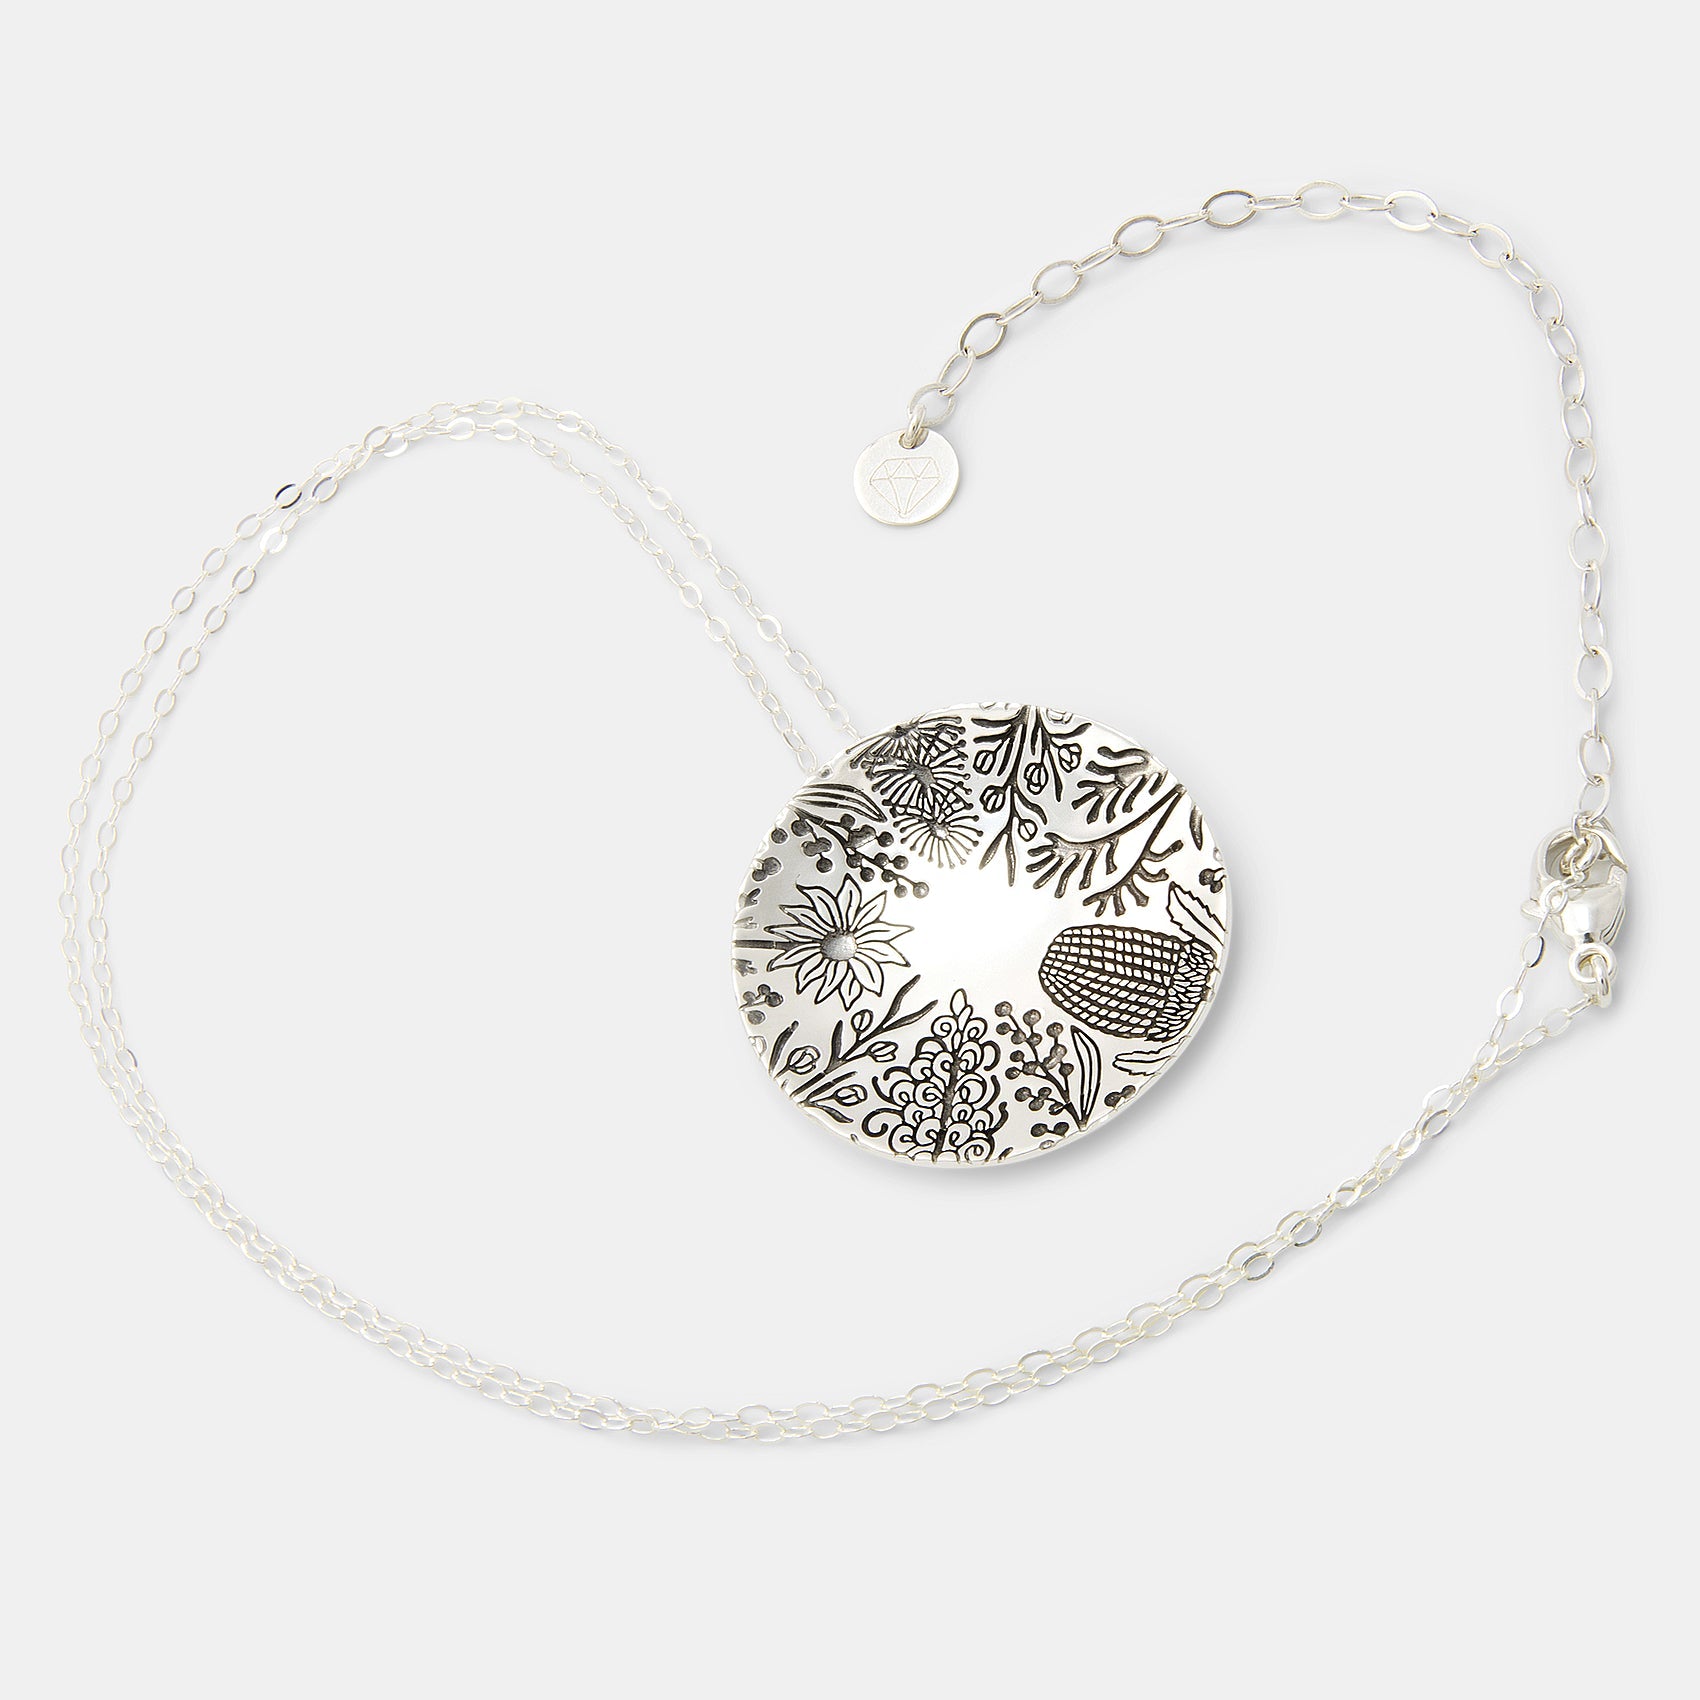
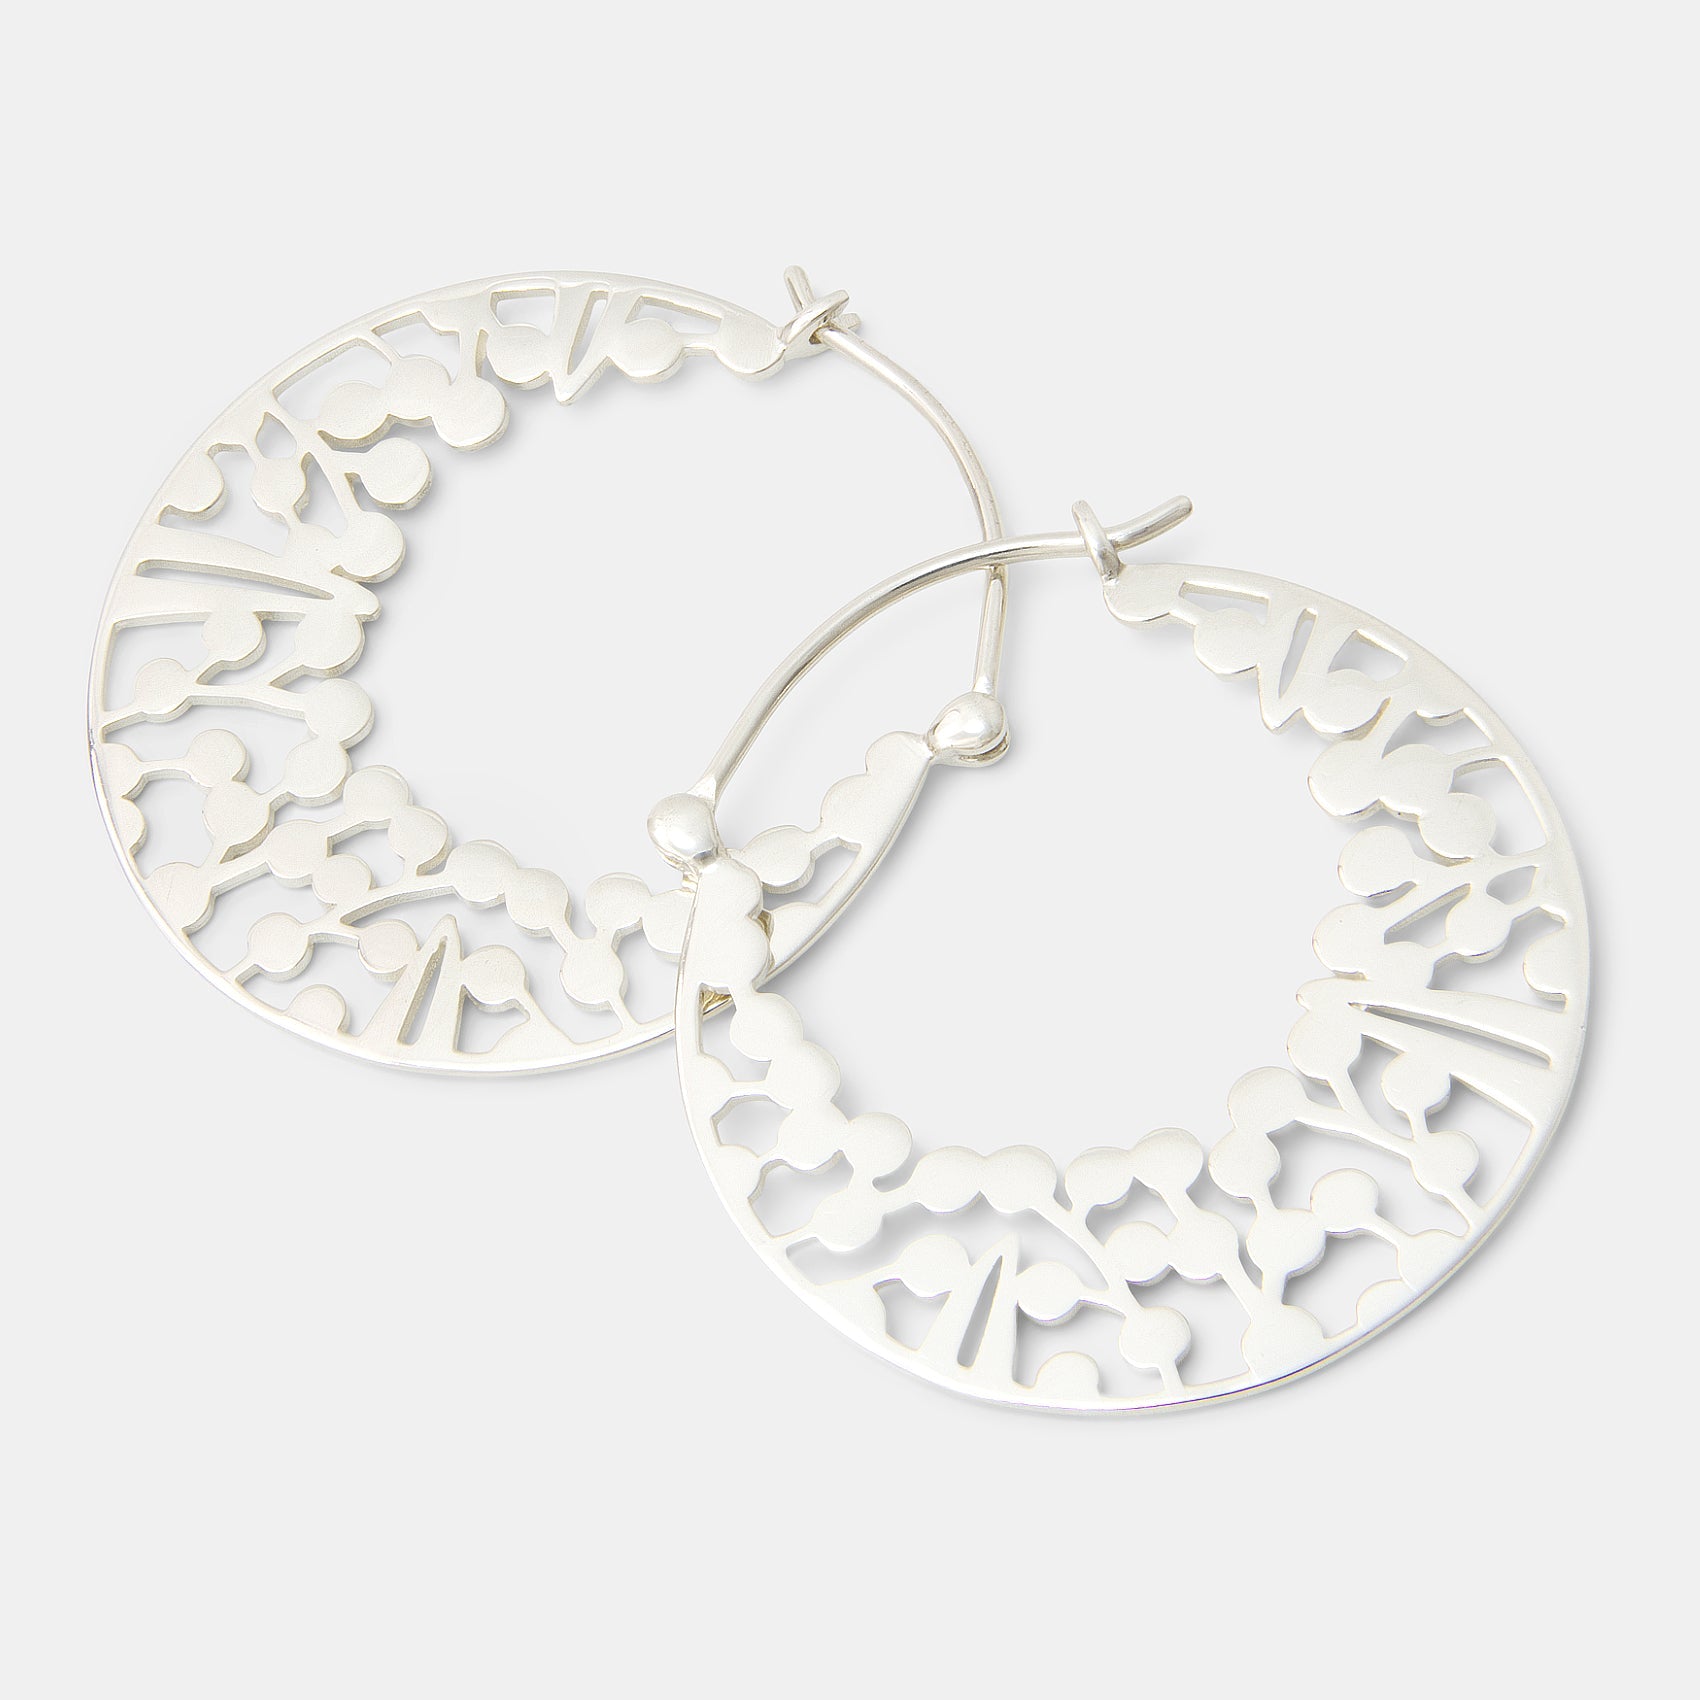
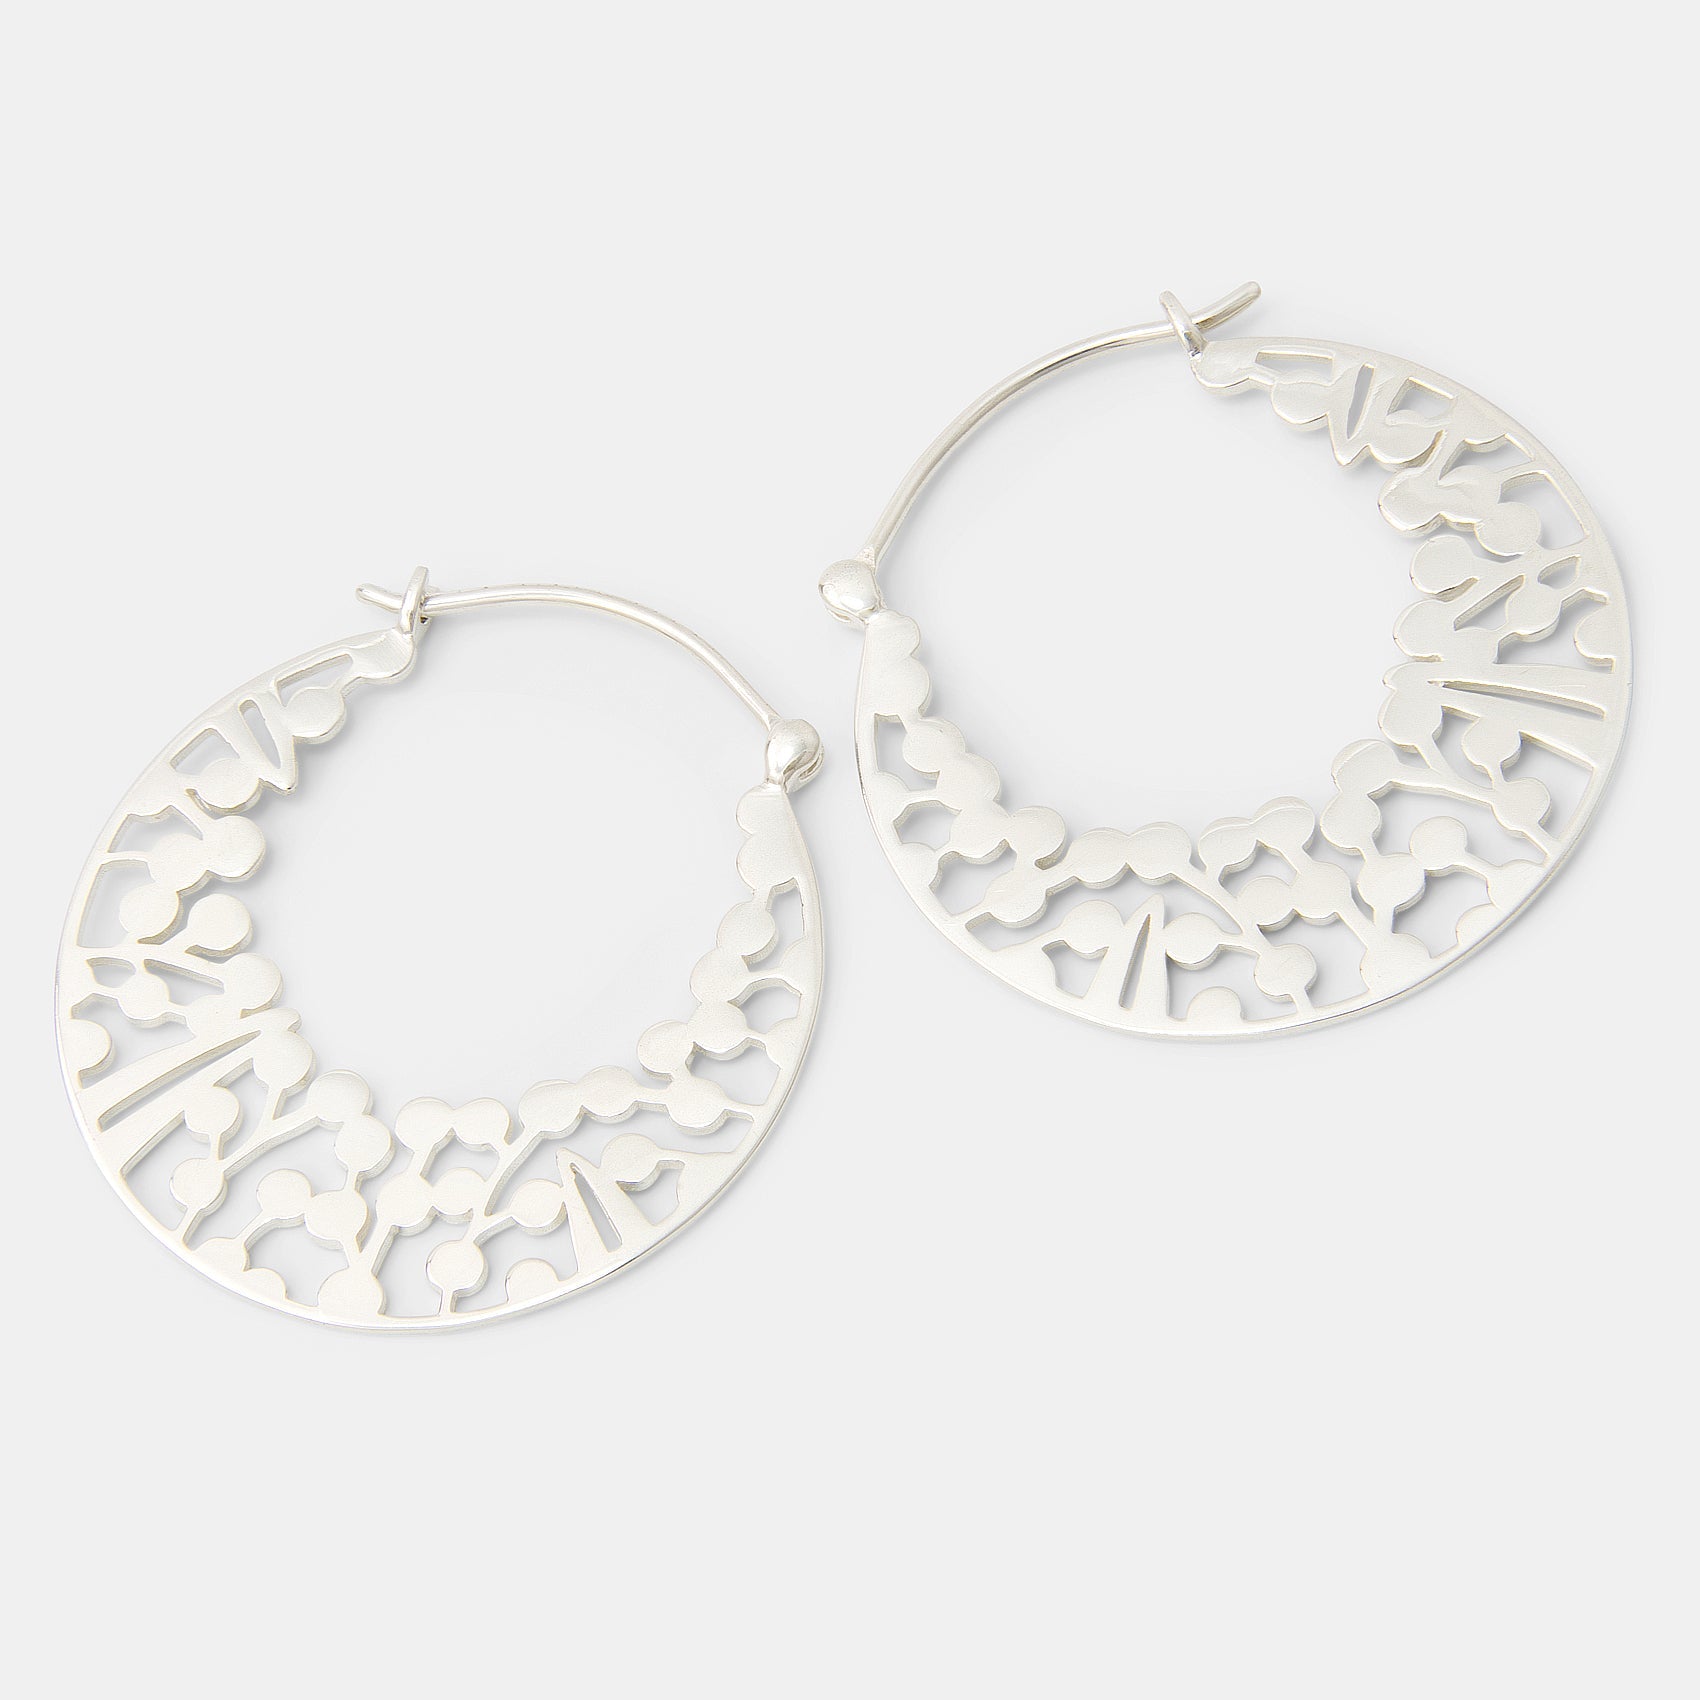
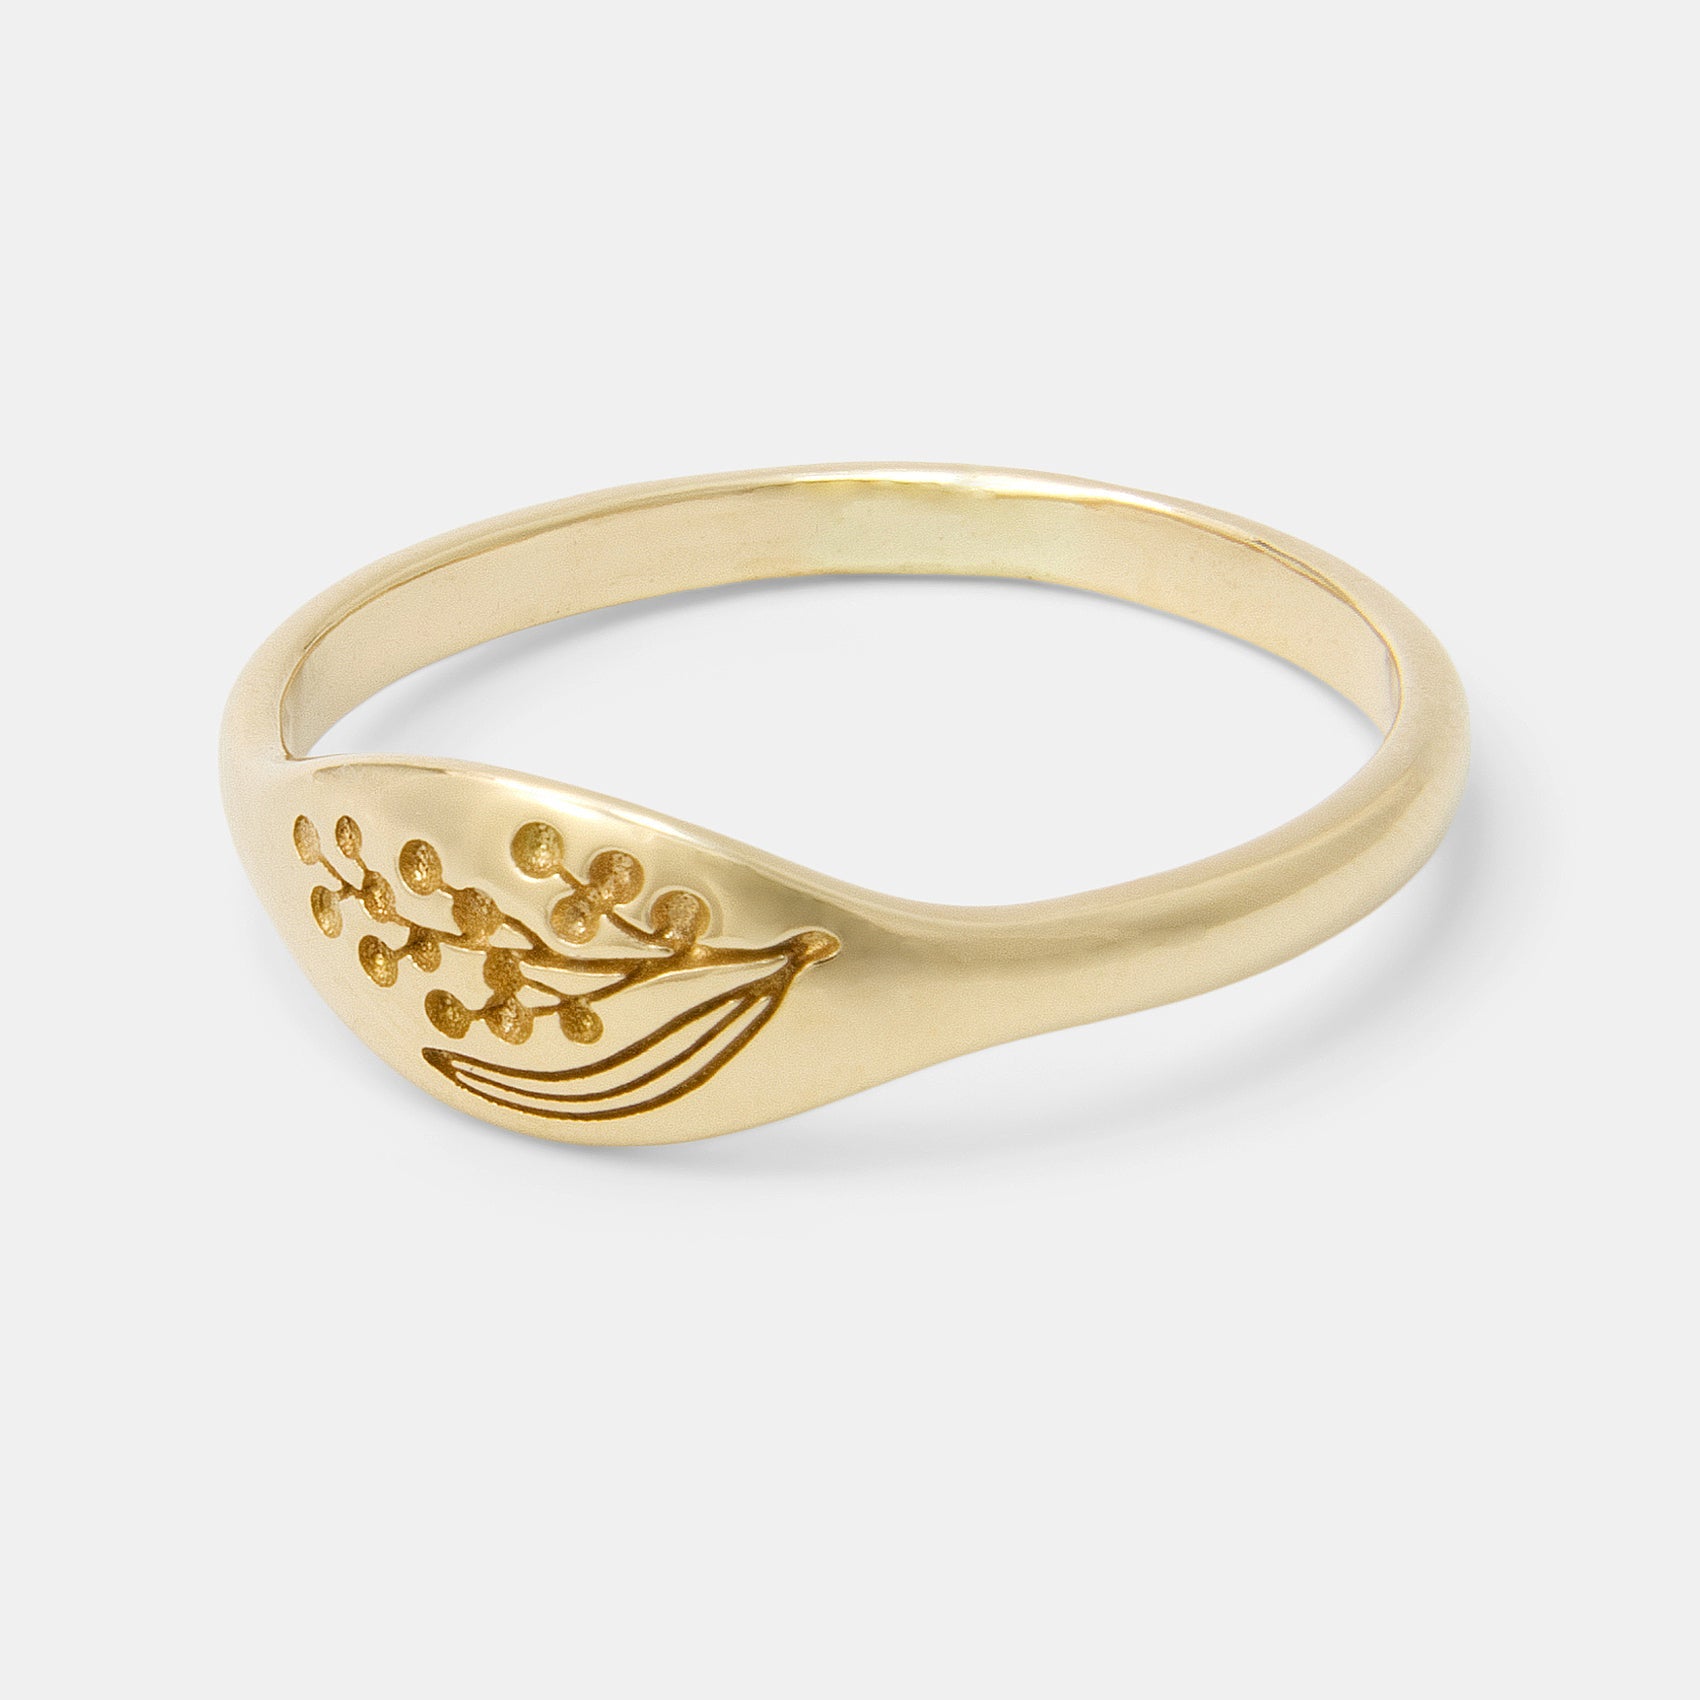
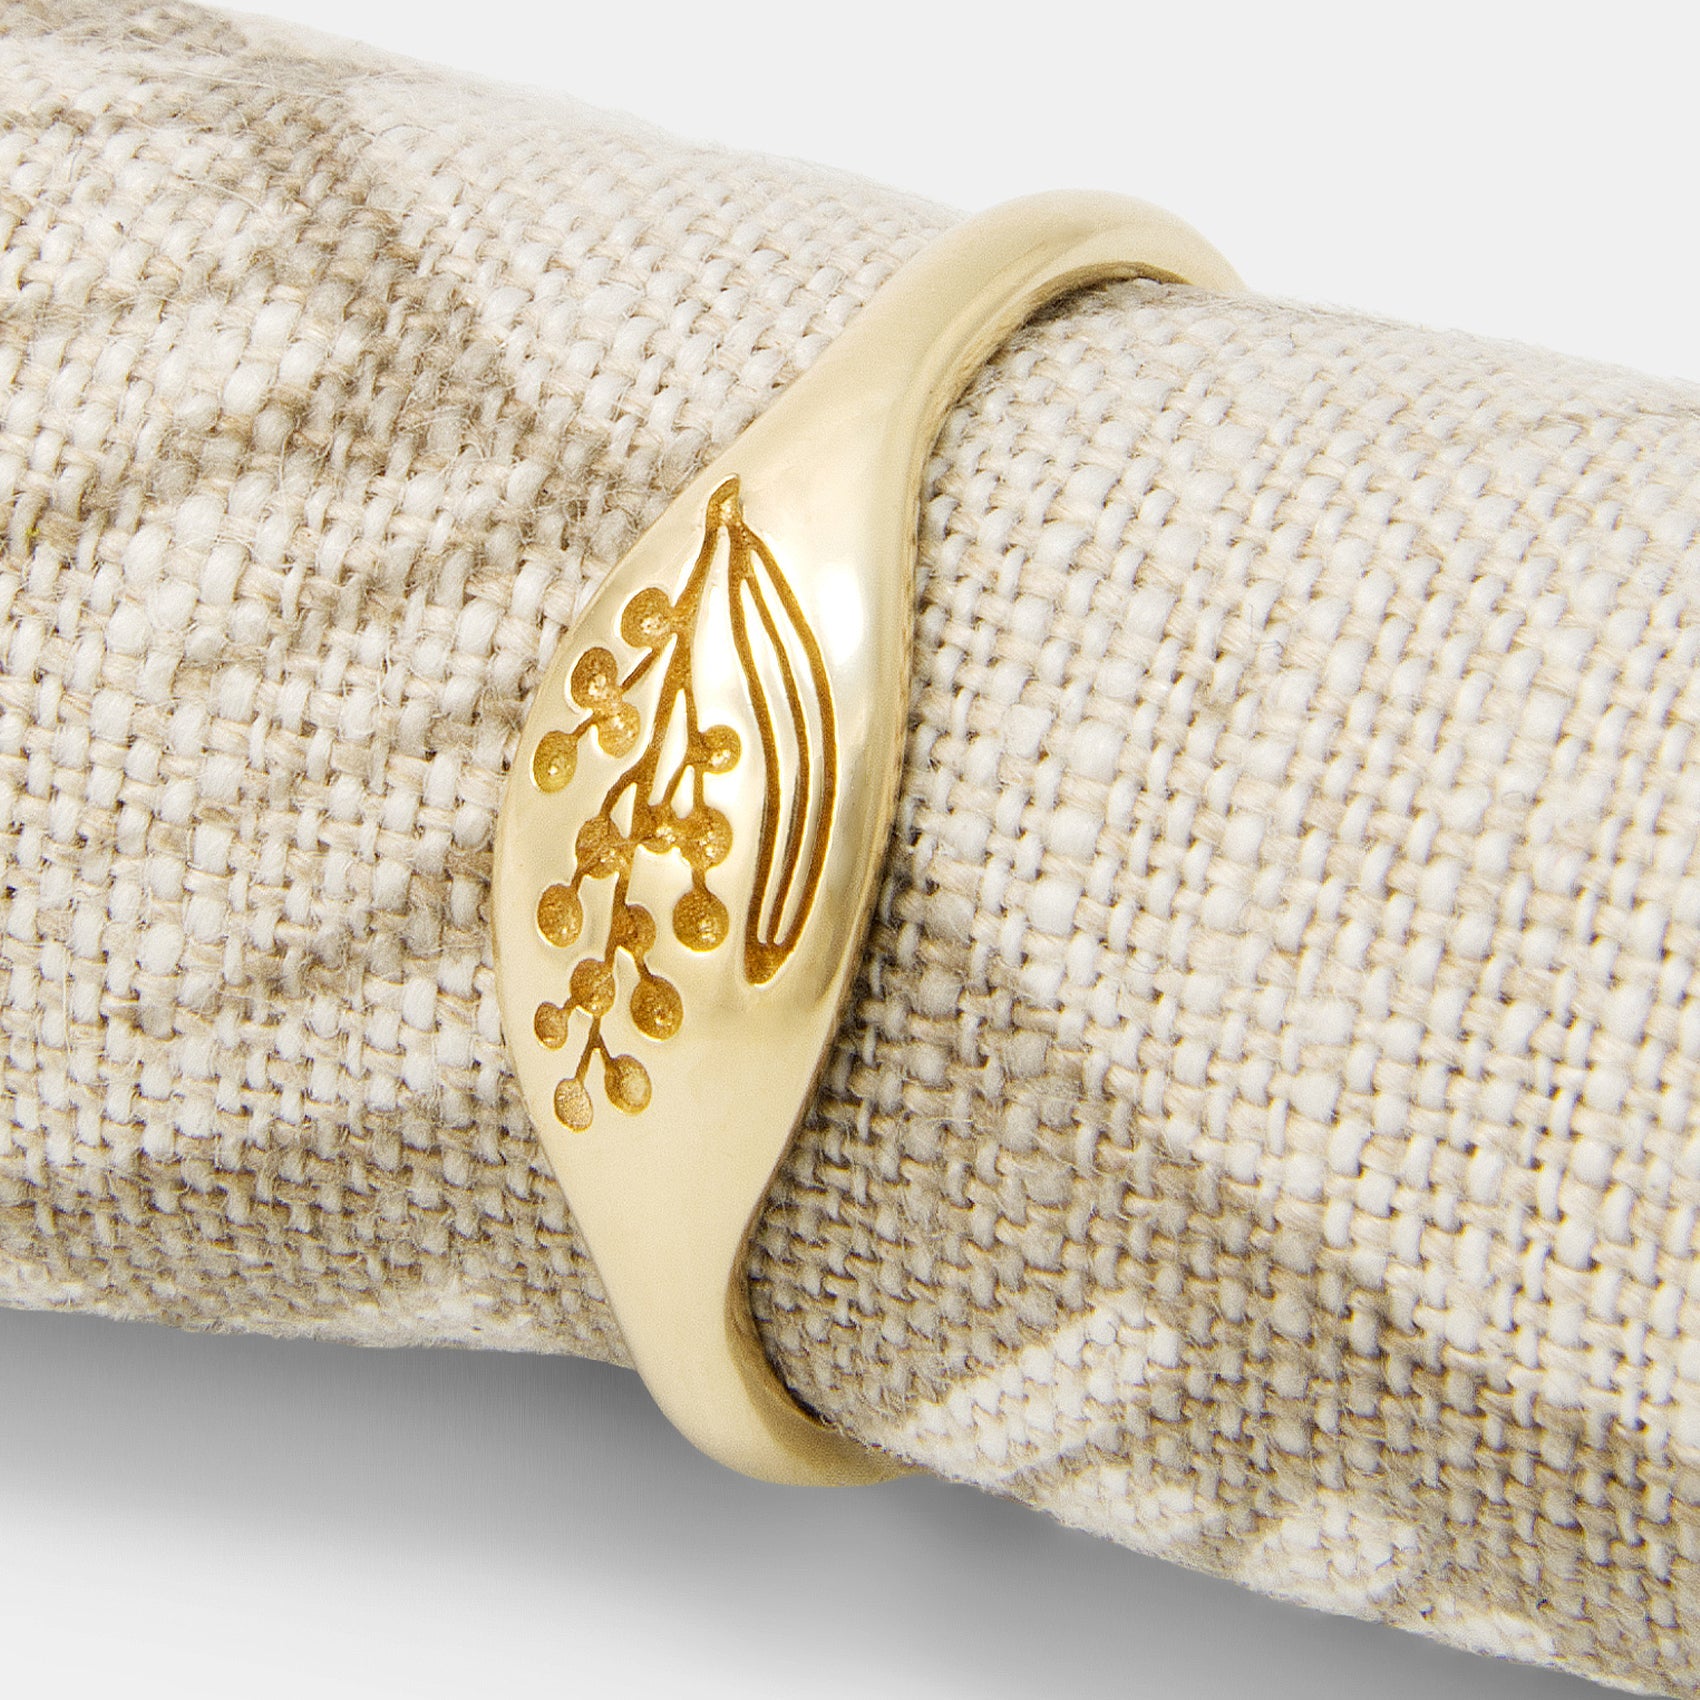
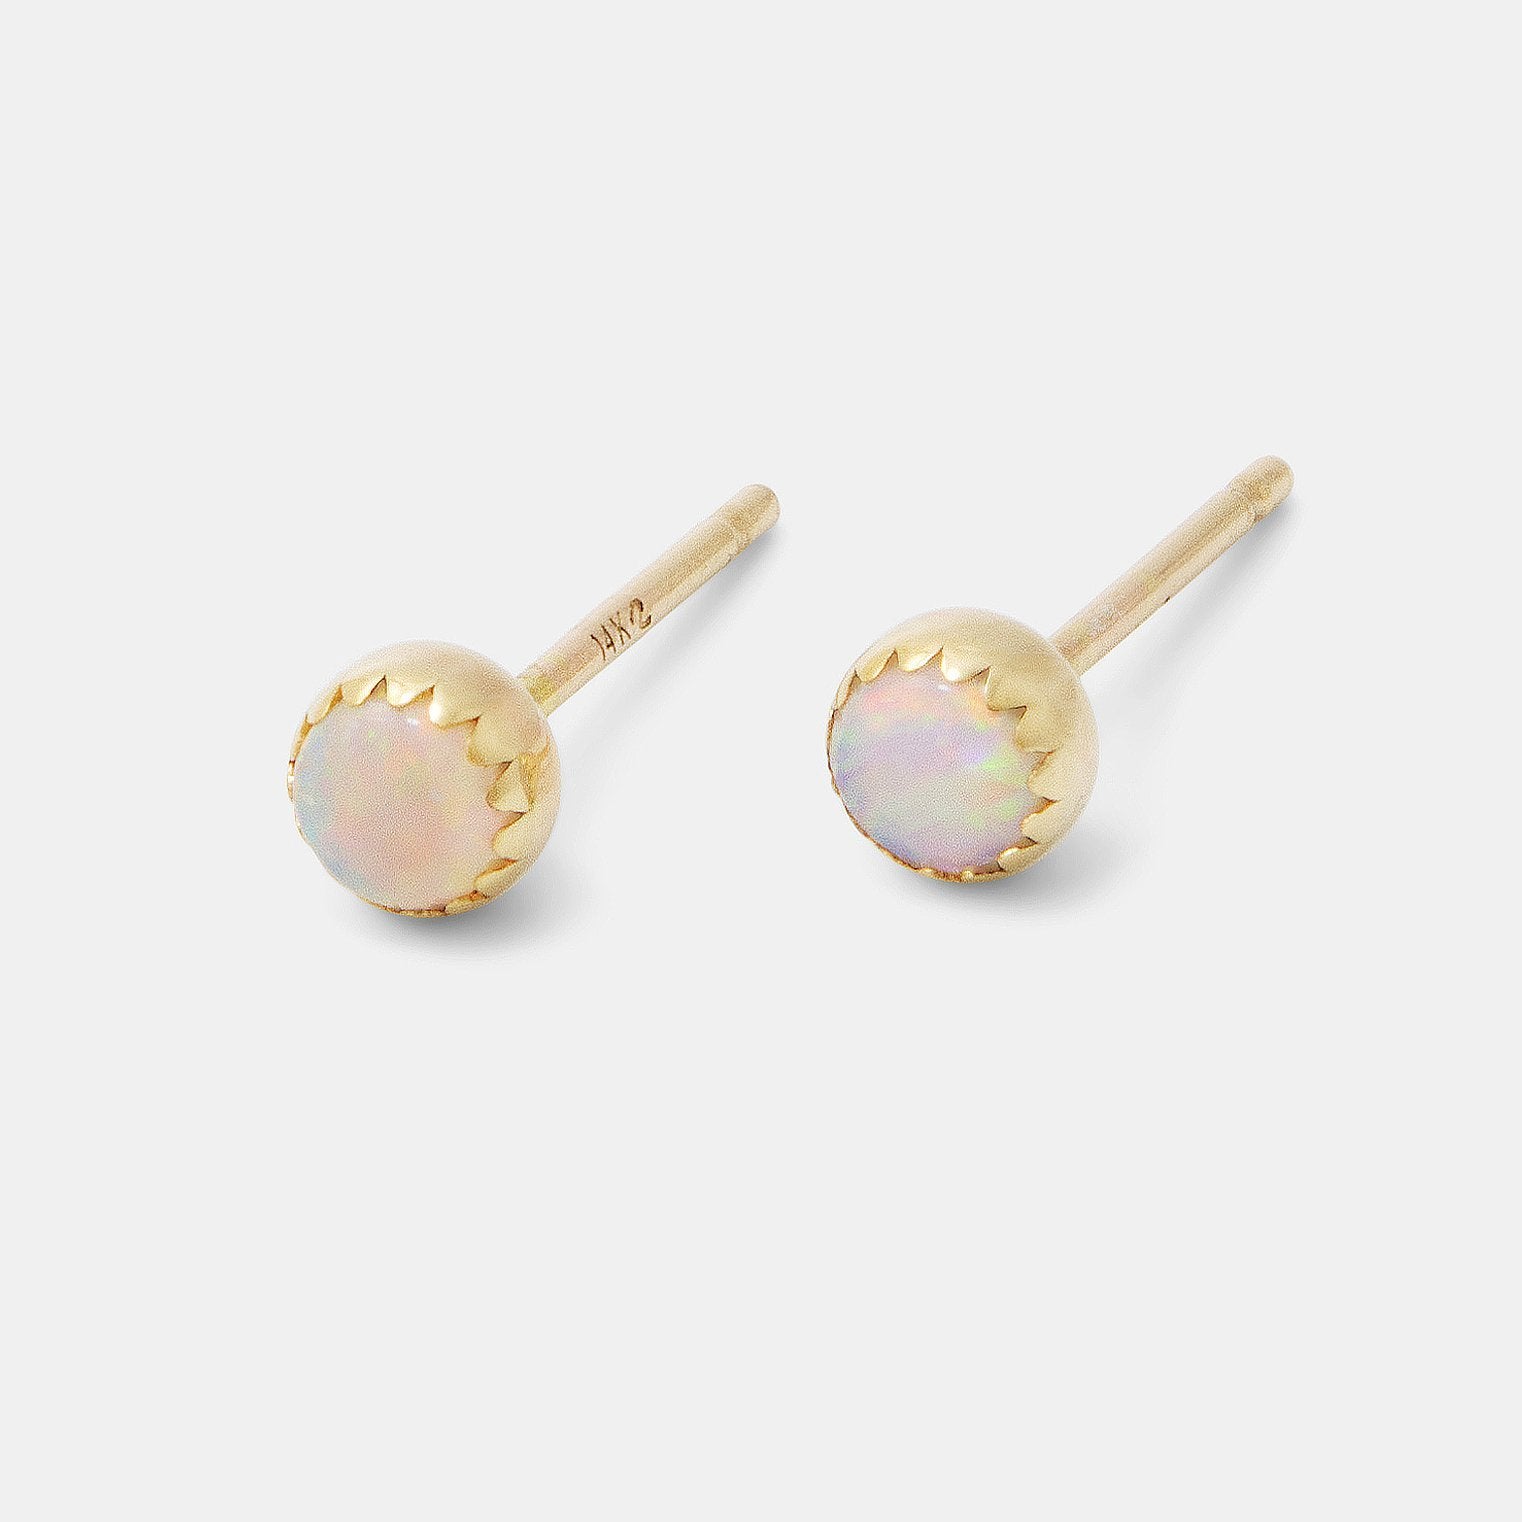
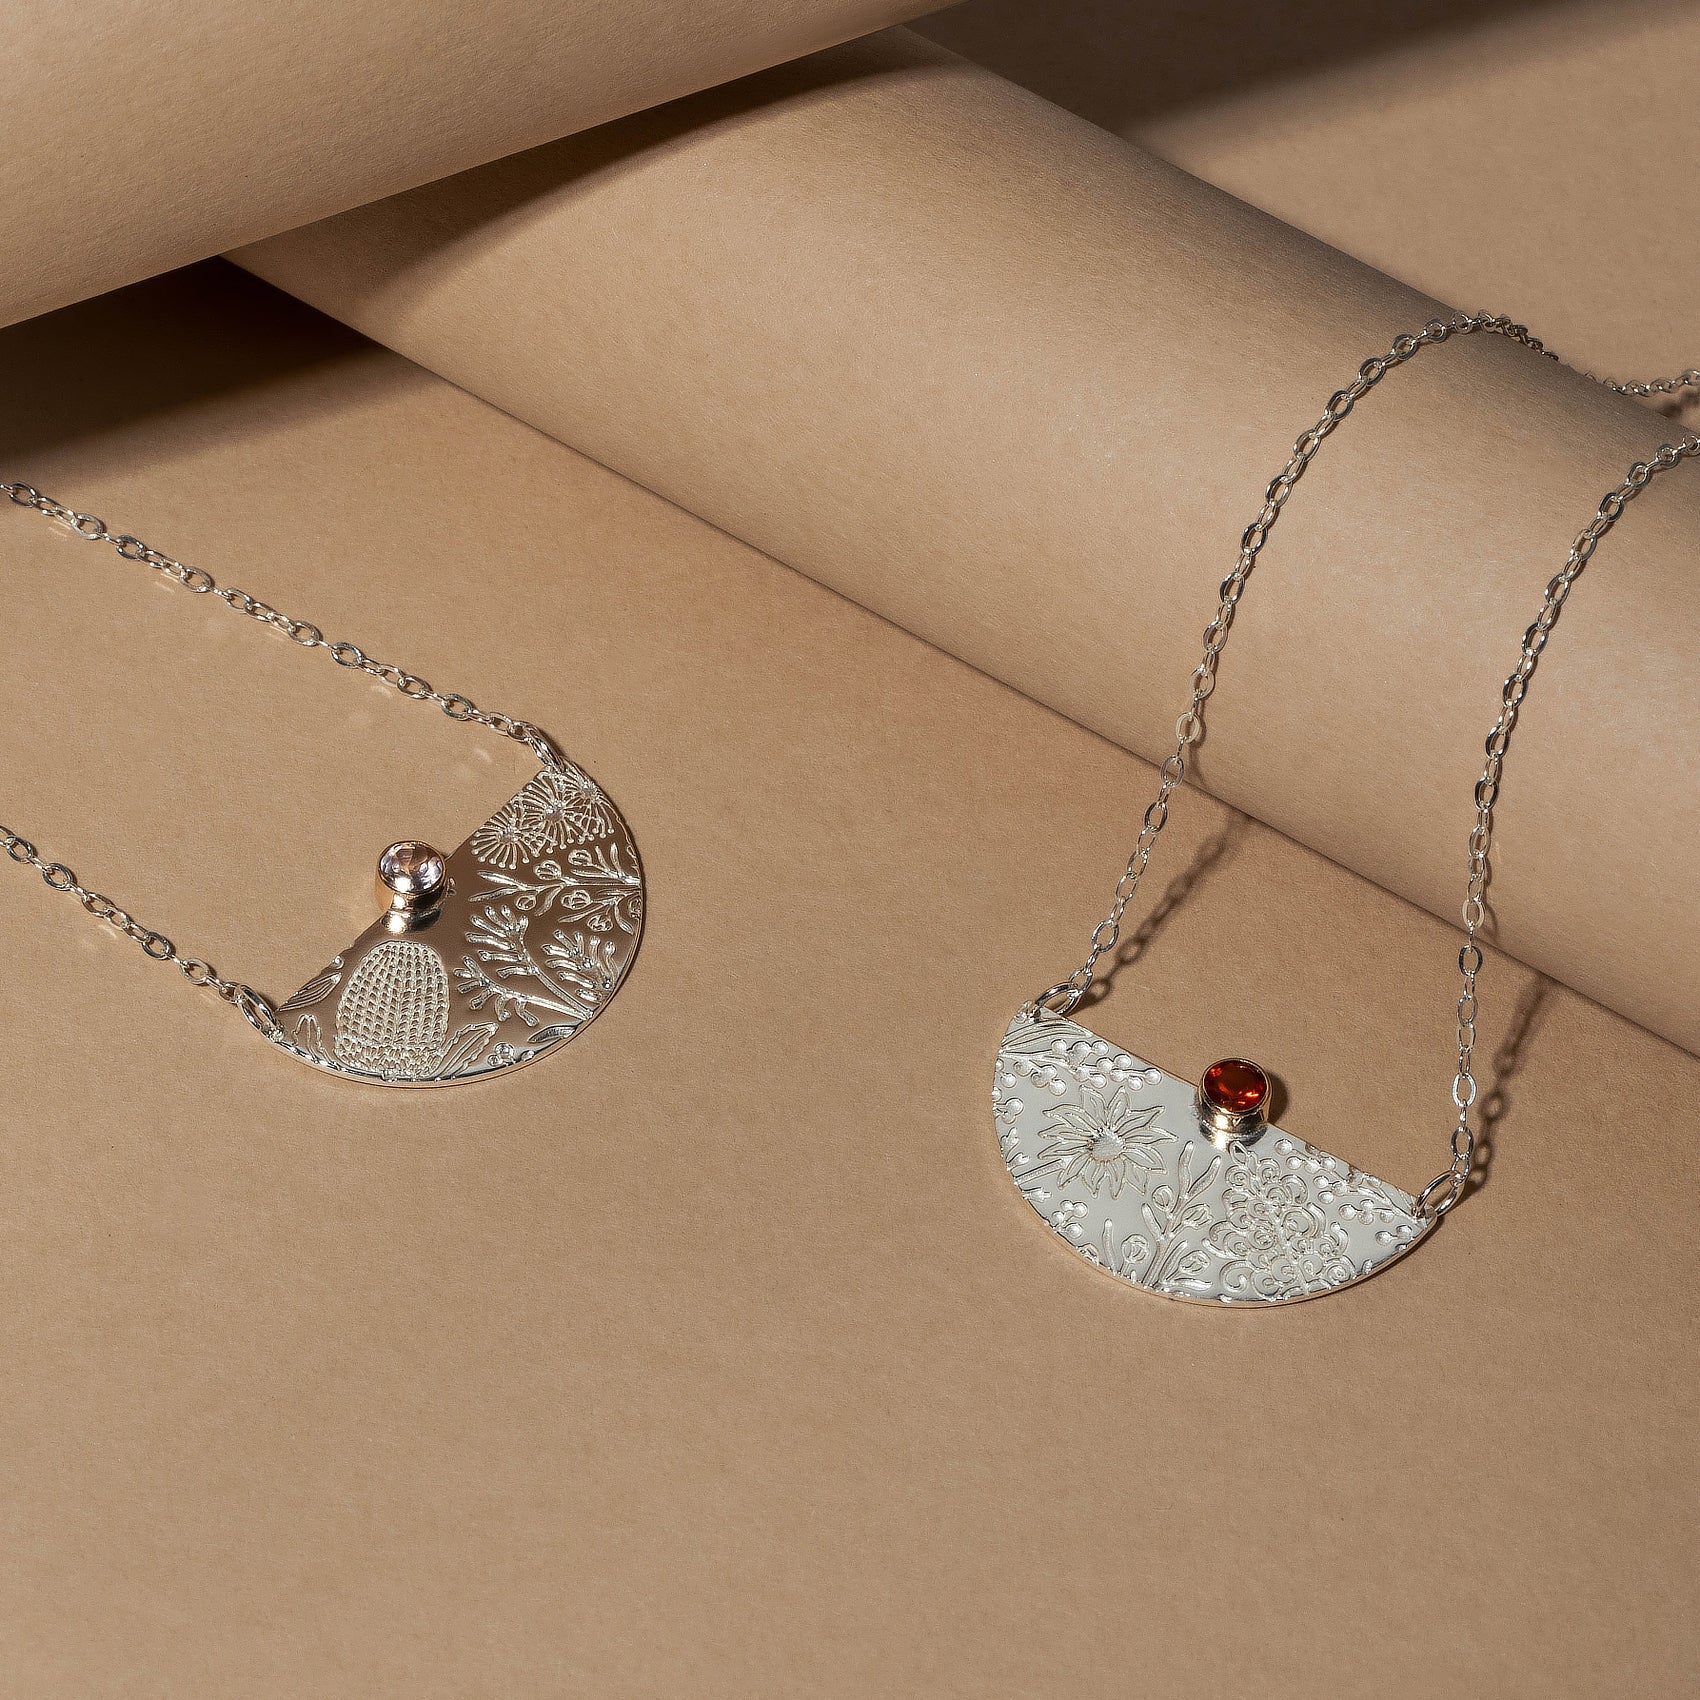
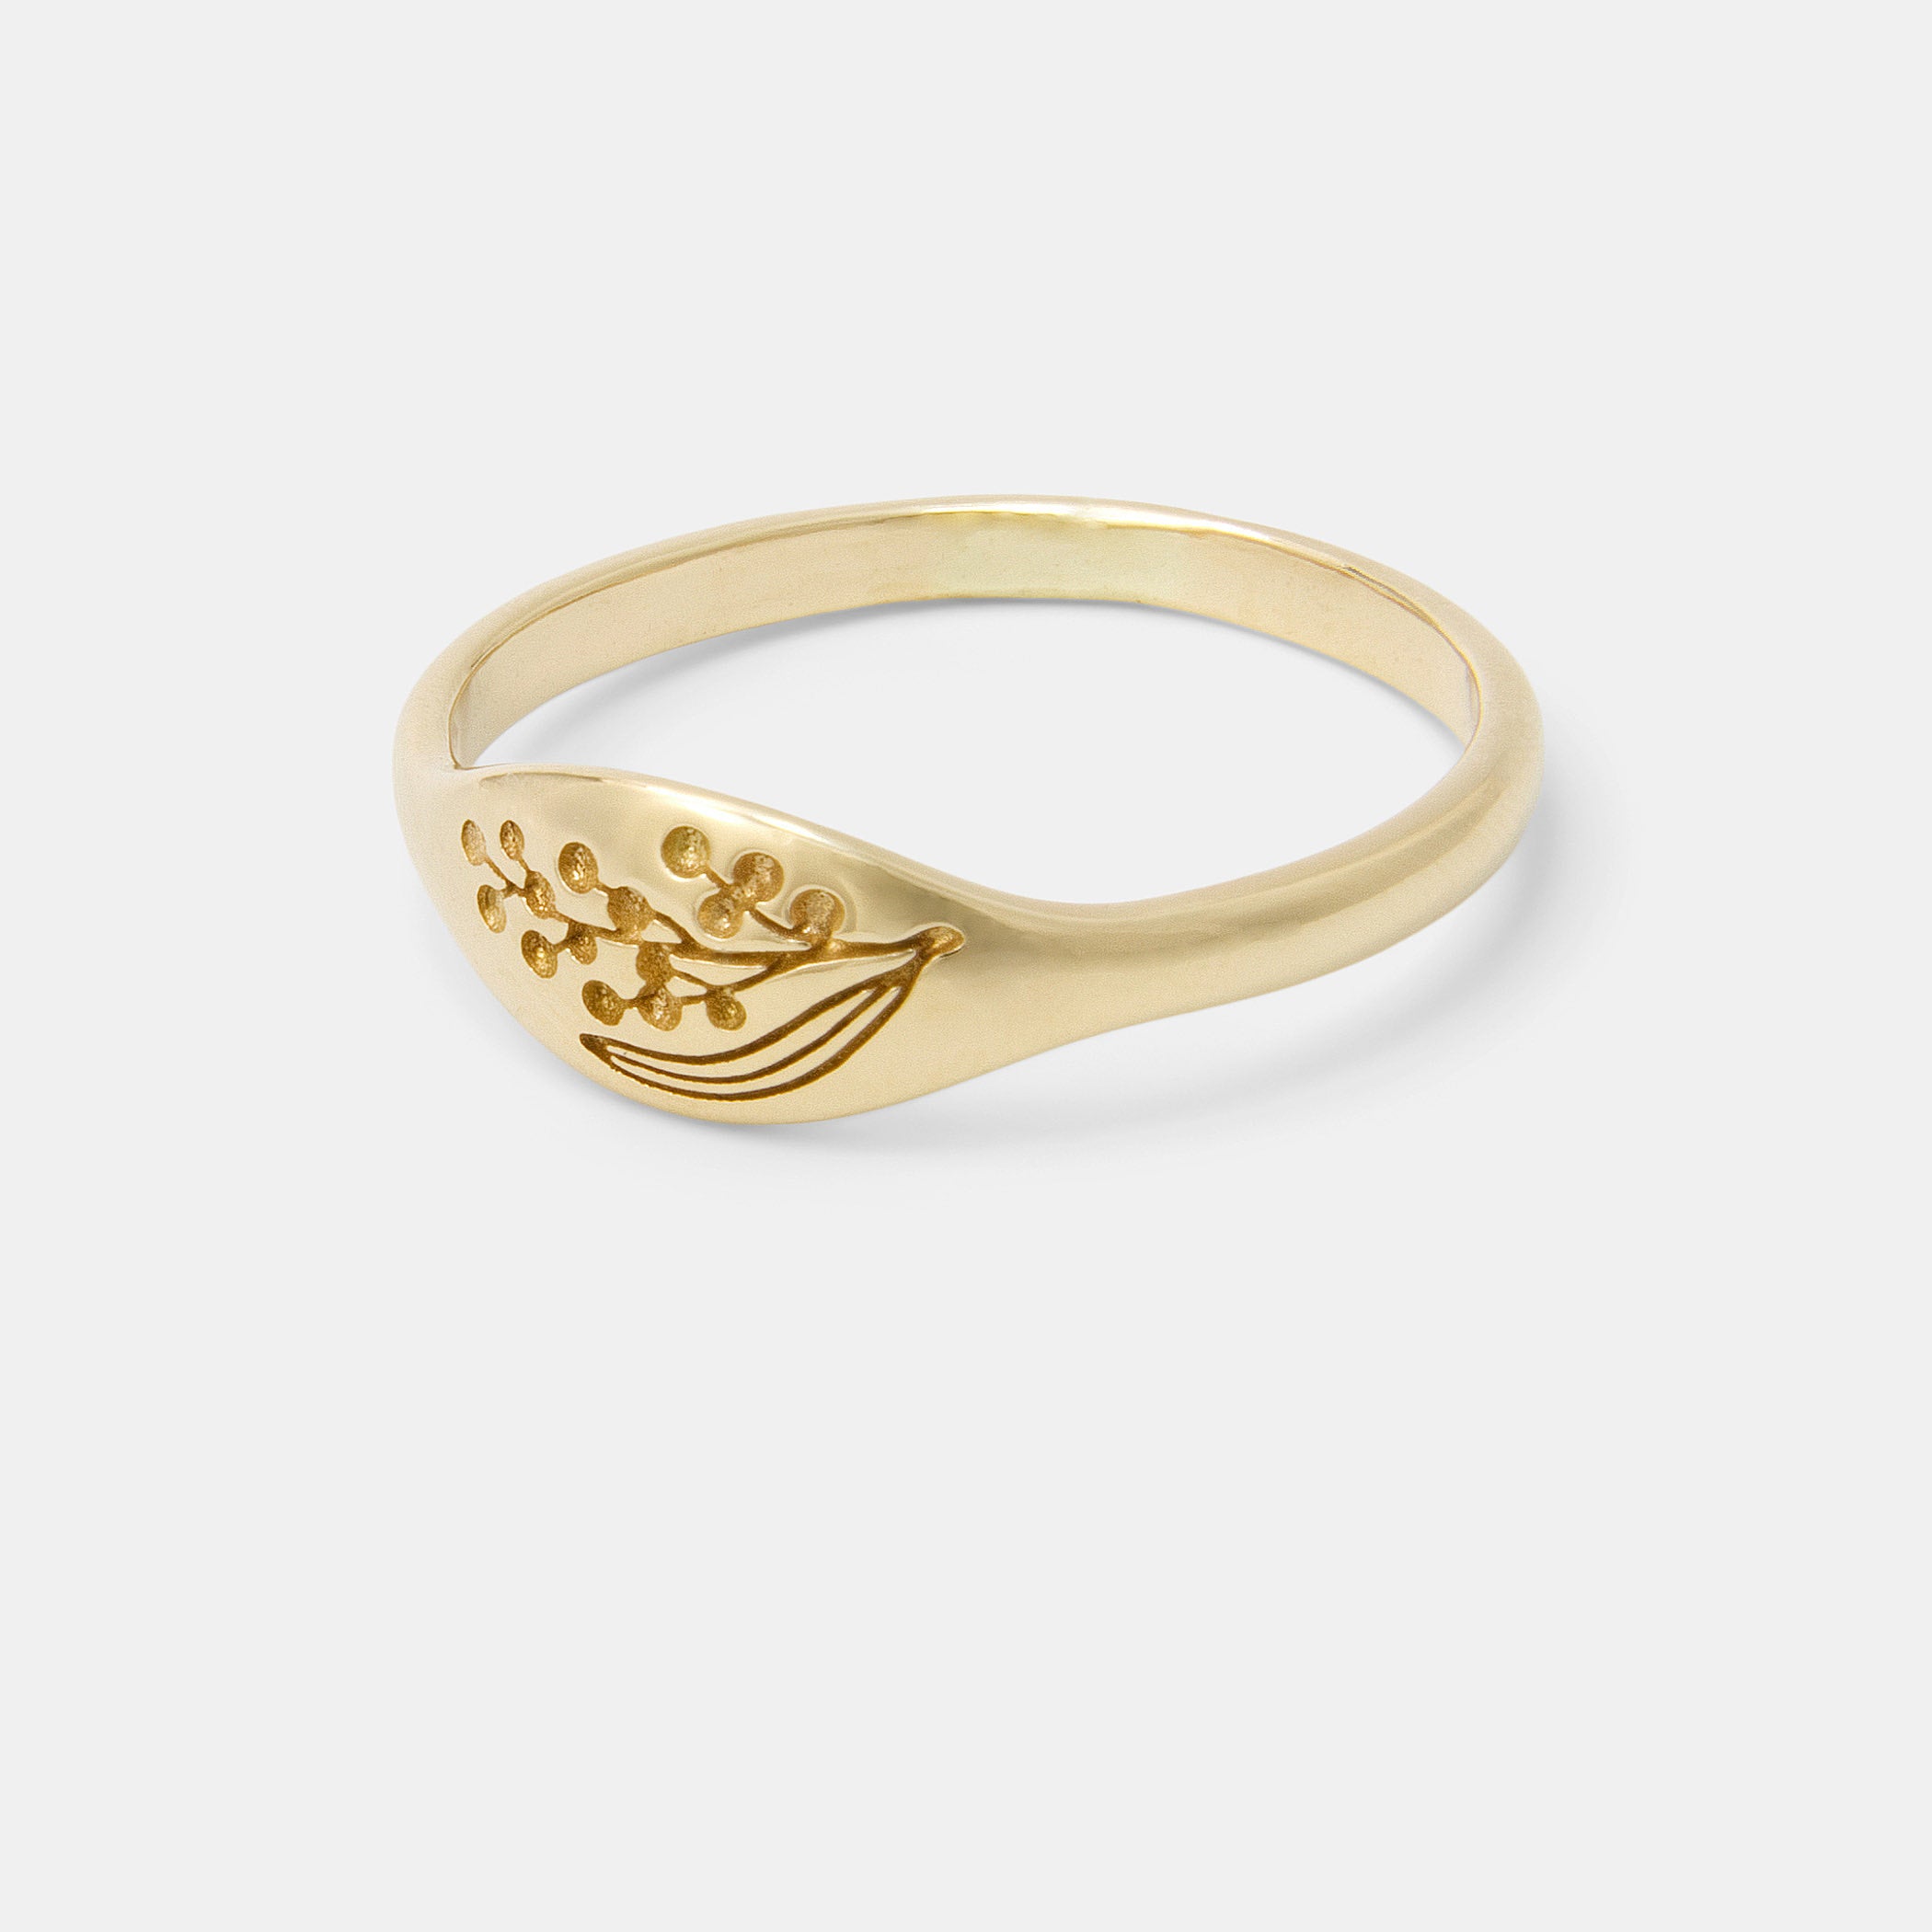
Australian Flora
Our latest range of jewellery features an array of Australian native plants and flowers. They'll make gorgeous gifts or treat yourself.
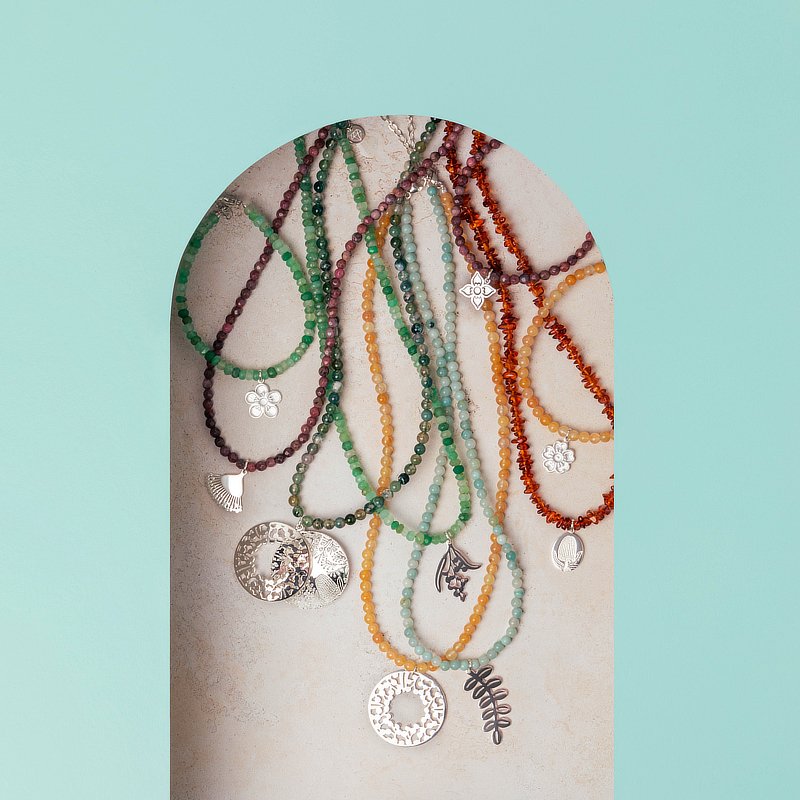
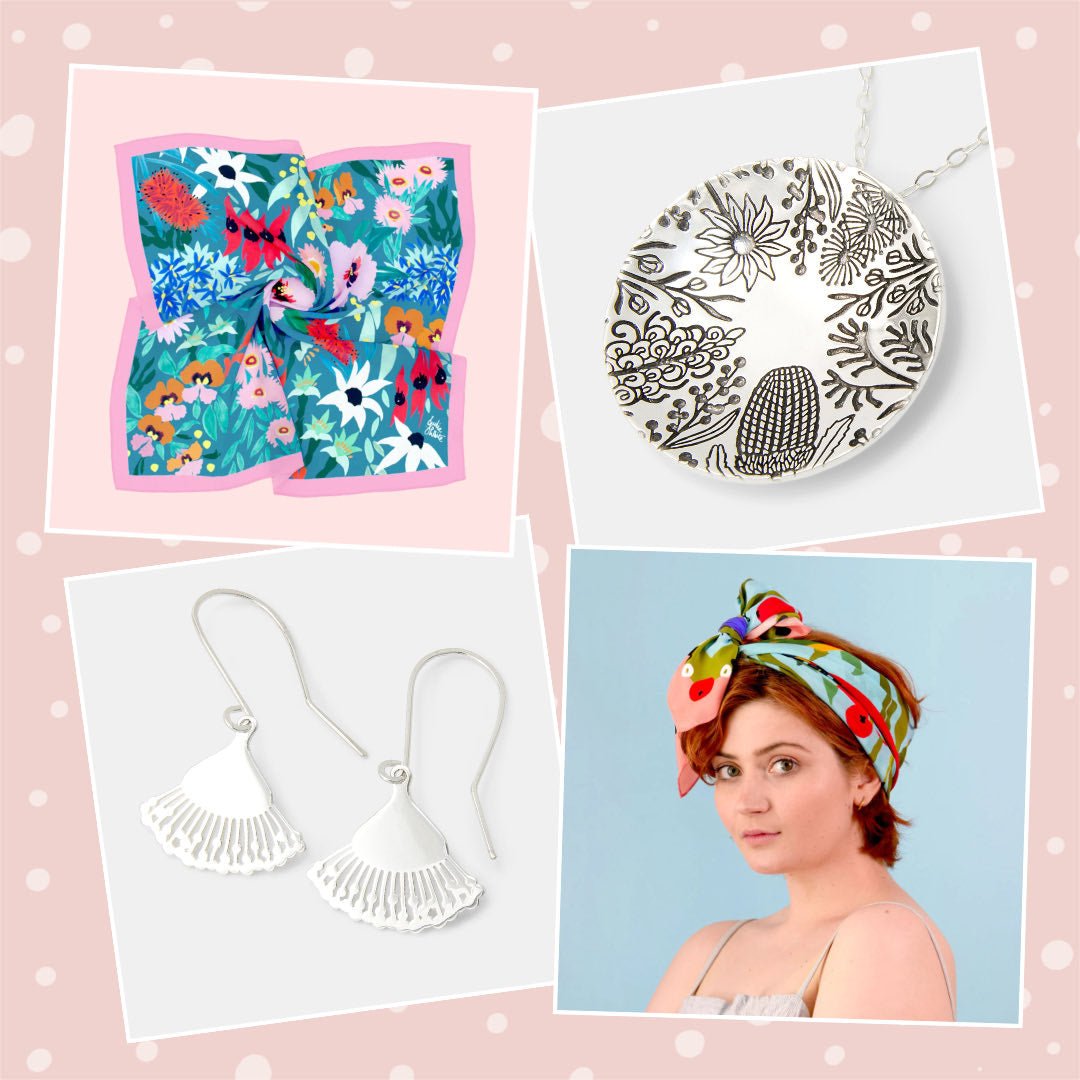
Featured Collections
Shop our most popular jewellery collections
About us
What we do
For over 25 years we've been creating beautiful sterling silver, gold & gemstone jewellery. We aim to make our business as eco-friendly and ethical as possible.
About us
How we work
Our jewellery is handmade in sterling silver, gold and gemstones - either in our own workshop or by the artisans we partner with.
About us
Where we are
We're a family run jewellery brand based by the seaside in South Australia. We have customers around the world.
Jewellery Blog
Read the latest articles with handy info, styling tips and more
Don't be Conned: Jewellery Myths & Misleading Marketing
Recently I saw an ad for a new jewellery brand which bragged about the amazing features of their jewellery which they claimed made it superior to other jewellery designs. As a jewellery profession...
Australian Fashion: Christmas & Summer Outfit Ideas
Look dashing as you sleigh this Christmas (and throughout the summer season) in our handmade jewellery. As we do each year, we’ve lined up some of our range with pieces from our fave ethical Austra...
Are gold rings worth the investment?
Gold rings have been a much sought after jewellery accessory for millennia, with some of the oldest rings in gold found to date having been made around 6,500 years ago. The beauty, elegance, preci...
What customers say
"MAGIC! This is the first word that came to my mind when I opened my delivery."
Hayley - Australia
"One of the things I love about Simone's work is the simplicity of design. I wear her pieces to work, on the weekend and to special events. They always make me feel well put together."
Sarah Mac - Adelaide, Australia
"Thanks so much for sending such joy my way! I was impressed from the moment I opened my package."
Cherie - NSW, Australia
More about us
Our Australian Jewellery

Do you love shopping online for unique Australian jewellery? Well you're in just the right place!
Simone Walsh is an Australian jeweller who has been creating handmade silver jewellery, gold jewellery, gemstone jewellery and pearl jewellery for women for over 25 years. We've been selling our unique jewellery designs online for over 15 years.
We're a family-run small business based in the beautiful Fleurieu Peninsula outside Adelaide in South Australia. If you're shopping for jewellery handmade in Australia you'll be joining thousands of our happy customers based in Melbourne, Sydney, Brisbane, Perth, Hobart, Canberra ... in fact, all over the world.
We have all sorts of unique and eco-friendly designs in our online jewellery store, including:
- Earrings Australia: gold earrings, silver earrings, stud earrings, dangle & drop earrings, hoop earrings and more.
- Pendants & necklaces: gold necklaces, silver necklaces, necklaces with pendants, chain necklaces, beaded necklaces, layering necklaces and more.
- Rings for women: gold rings, silver rings, stacking rings & ring sets, cocktail rings and more.
- Birthstones by month: including birthstone necklaces, birthstone earrings and birthstone rings.
Our Australian jewellery designs are delicate, delightful and often surprising. Simone is most often inspired by nature in her designs, along with ornament and pattern. Visit our jewellery shop to explore the full range.
What you'll love
If you're creative and have your own unique sense of style - if you want to look like yourself instead of everybody else - then we know you'll be delighted by our quality handmade jewellery, which is made for women just like you.
Our unique jewellery is made in precious materials - sterling silver, gold and gemstones. It's ecofriendly, ethical and nickel free.
You'll get free shipping in Australia for orders $50+. All of our orders come with a money back happiness guarantee and our truly excellent customer service.
Read about why it's great to shop small, shop local and shop handmade and how we aim to create eco-friendly jewellery. We partner with other ethically-run businesses to make our jewellery designs and we also take great care to make our packaging environmentally friendly and sustainable.
Our jewellery designs make gorgeous gifts for women - and we're more than happy to send gifts directly for you. You can include a personal note and opt to add a gift card and wrapping.
Of course you can also treat yourself to our beautiful designs, which will add unique and versatile style to your wardrobe. Check out our top jewellery style tips and our article about how to mix match your jewellery for ideas on how to expand your jewellery collection and make it work with your wardrobe and your personal sense of style.
What are you waiting for? Shop now for beautiful and unique handmade jewellery that you'll treasure.